손님께서 중고 메인보드를 가지고 오셨습니다. 이렇게 메인보드를 별도로 구입해서 오시는 손님은 거의 없기는 한데요. 이런 수리 건은 조심스럽습니다. 왜냐면, 댁에서 해보시고 안되니깐 가져오시는 경우가 많은데, 보통은 CPU 소켓의 핀들을 망가트린 경우가 많기 때문에, 모든 부속의 고장을 의심해보면서 점검하고 재조립하는 과정이라서, 일반 재조립 과정보다 더 많이 손이 갑니다. 부품도 오래된 부속이기 때문에 추가적인 문제가 거의 항상 있습니다.
아래는 제 테스트용 메인보드입니다. 제 CPU와 메모리, 파워서플라이 등으로 테스트해서 잘 되는 걸 확인하고 분류해둔 테스트용 메인보드입니다. 손님의 CPU와 메모리, 그래픽카드 등의 호환성이 있는 메인보드입니다. 일단은 제 부품을 다시 연결해서, 메인보드가 정상적으로 동작하는지, 손님 부품을 장착하기 전에 제 메인보드의 상태를 다시 확인합니다. 테스트하고 보관하고 있었을 뿐인데도, 세월이 지나면, 갑작스럽게 동작을 멈추는 (고장나는) 보드도 있기 때문에, 손님 부속을 테스트하기전에 먼저 상태 점검해보고 교차 테스트 진행합니다. 손님과 같이 확인한다고 테스트 과정은 사진상으로 남기진 못했네요. 제 보드는 정상적으로 바이오스 화면까지 진입됩니다. (윈도우 화면까지는 넘어가지 않았습니다. 그렇게 확인하는 게 더 정확하지만, 시간이 오래 걸립니다.)
제 메인보드에 (네임펜으로 성함을 적어둔) 손님의 CPU를 장착했습니다. UEFI DUalBIOS 화면에서 손님의 CPU i5-3570이 정상적으로 인식되는 걸 확인했습니다. CPU, RAM, 그래픽카드 등 탈부착 가능한 부속은 전부 테스트를 했습니다. 정상적으로 화면이 출력됩니다.
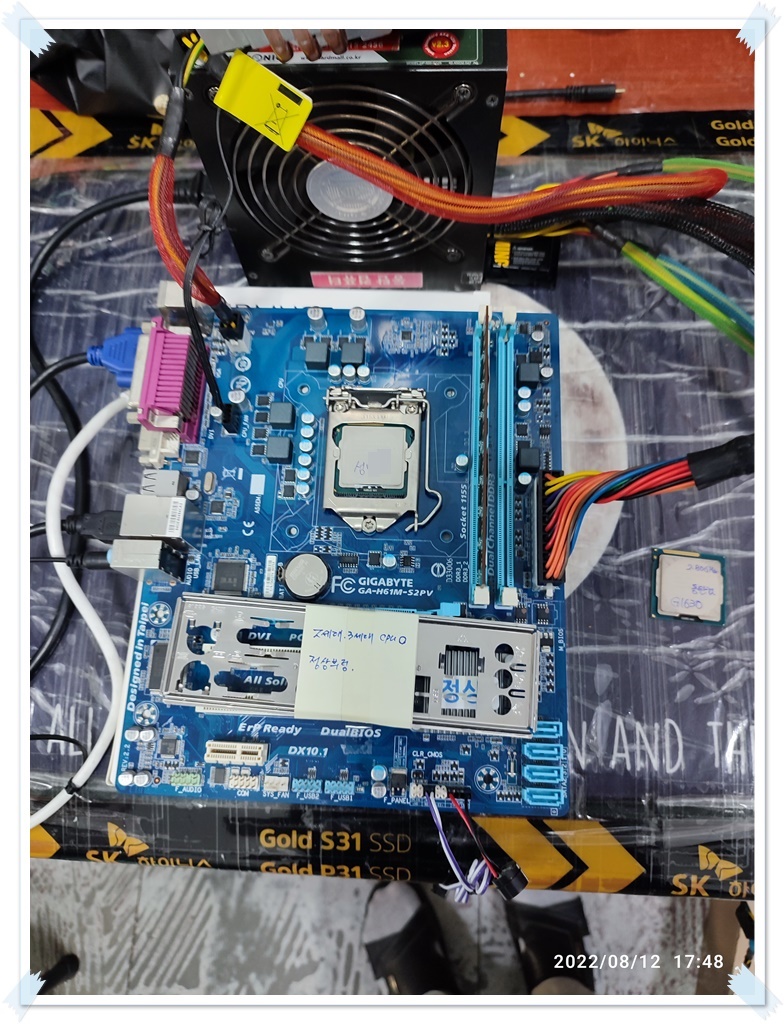

손님께서 가져오신 중고 메인보드를 준비해서, 제 부속(CPU, RAM)을 장착해서 메인보드 동작 테스트를 진행합니다. 손님 CPU는 3세대 i5 제품이지만 그래도 i5 제품이라서 고장나면 비용이 많이 드니깐, 3세대 셀로론 CPU를 장착해서 테스트했습니다. 간혹, 메인보드 불량으로 CPU가 사망하는 경우도 있습니다. 드물지만 1년에 1~2건 정도는 들어올 정도로 없지 않은 경우이기에 조심하면 좋습니다. (메인보드 불량으로 CPU 고장내는 사례입니다.)
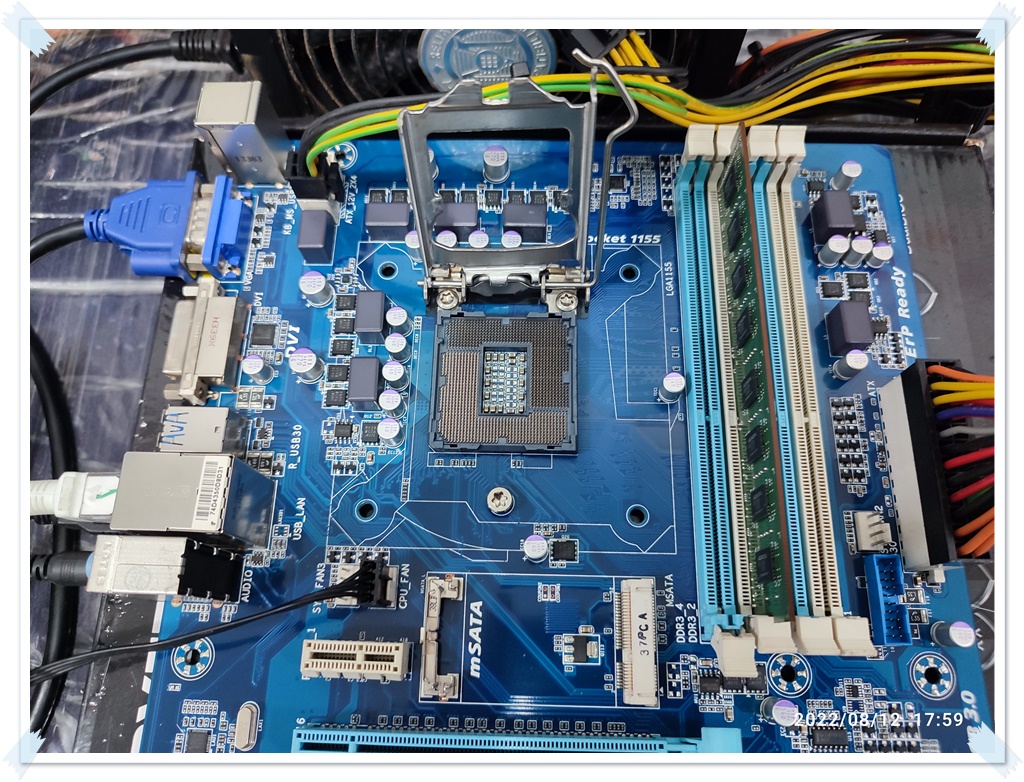

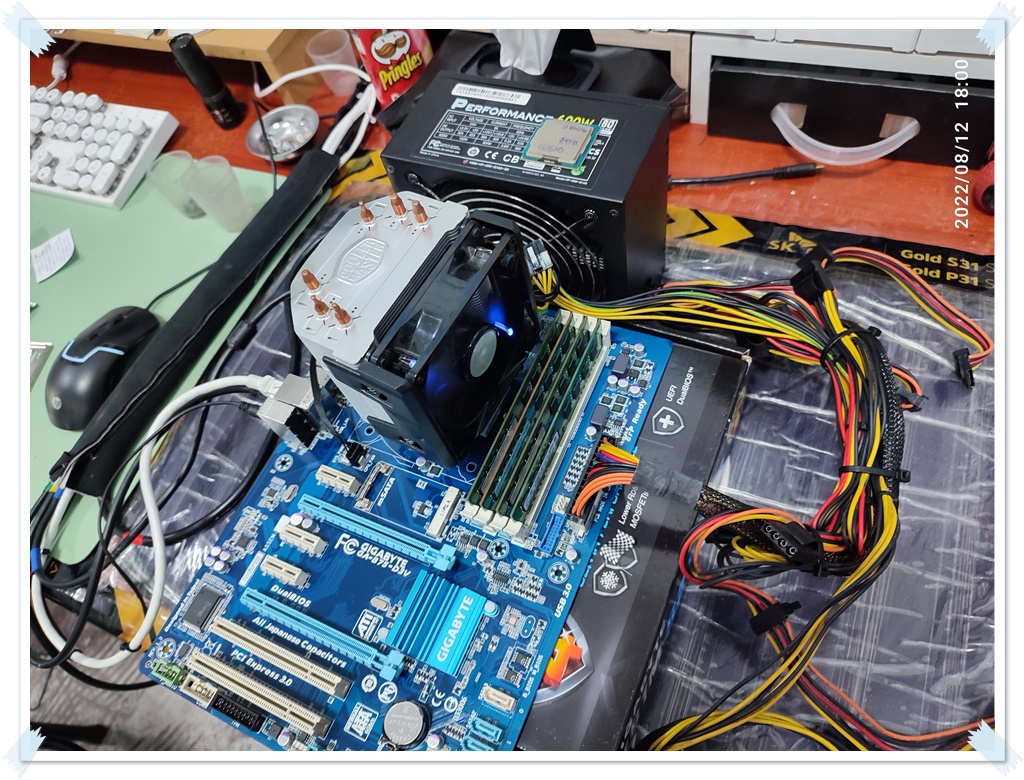
메모리가 총 4개씩이나 장착하는 골치아픈 경우네요. 메모리가 4개나 꽂히면, 접속 불량의 사례도 많아지기 때문에 점검하기가 어렵습니다. 4개의 메모리 접속 불량의 경우의 수가 1, 2개 꽂히는 것에 비해서 몇 배는 찾아내기가 어렵습니다.
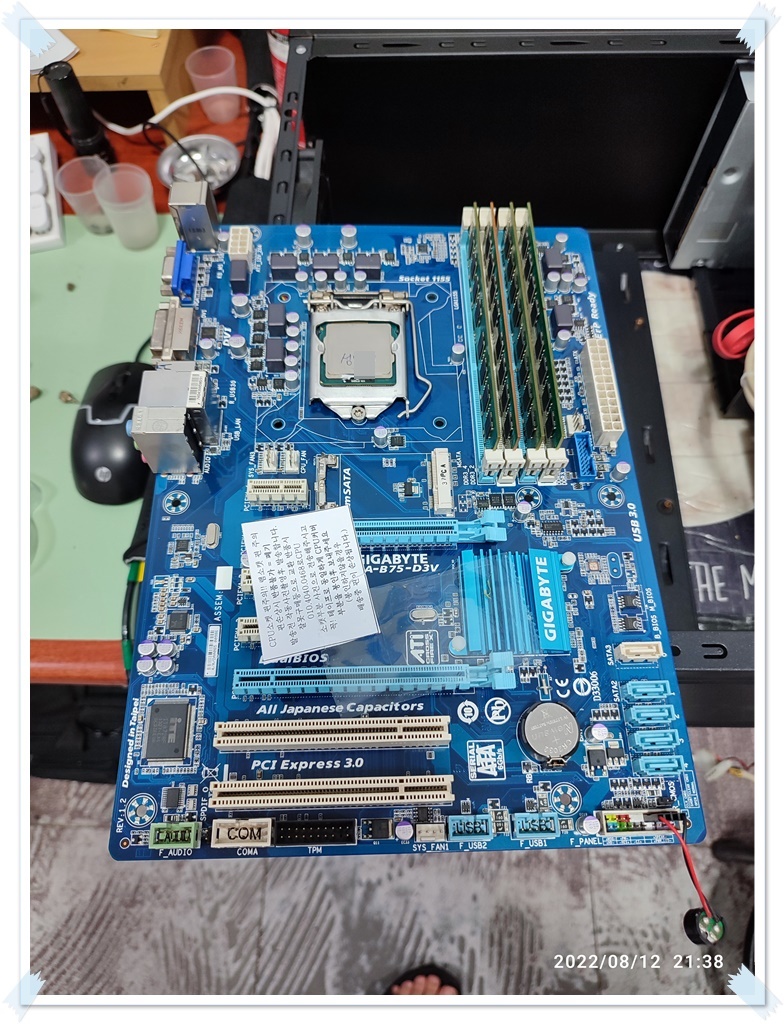


탈장착 테스트를 마치고, 서멀컴파운드를 재도포한 다음, 원래의 인텔 기본 쿨러를 달았습니다.

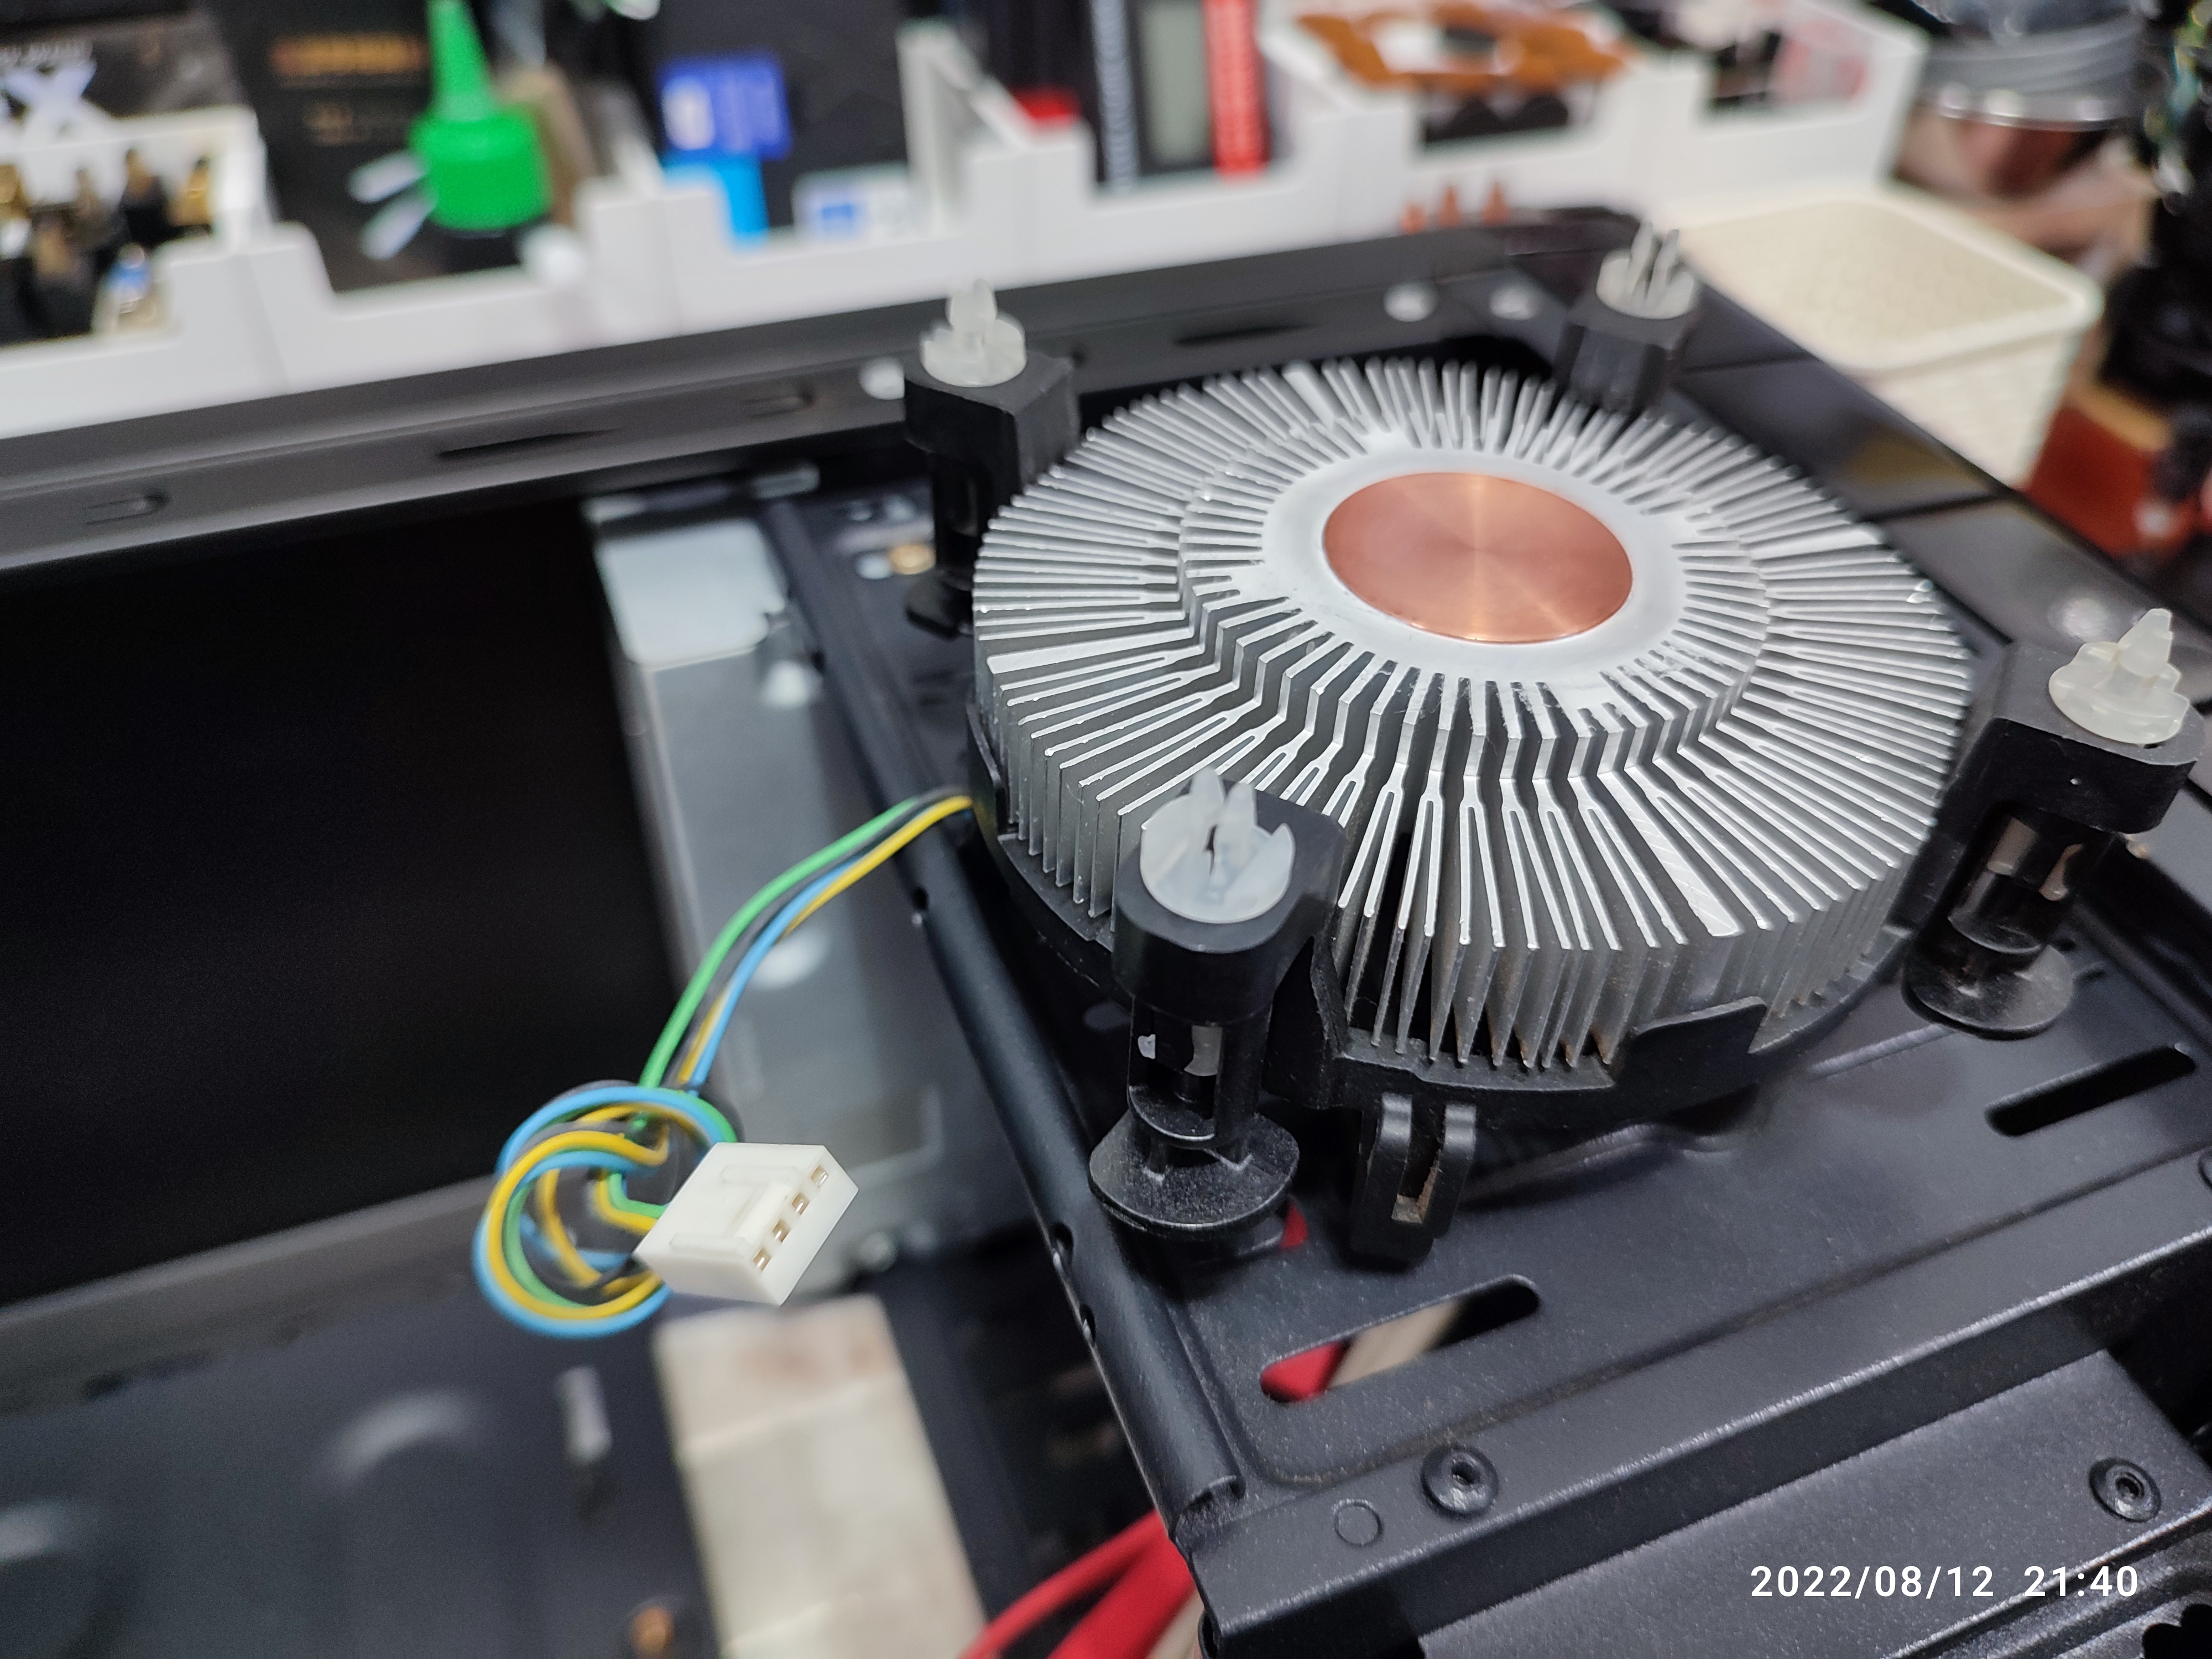
CPU 쿨러의 고정핀 플라스틱이 꺾인 상태입니다. 조립할 때, 이 부분 실수가 많은 편인데요. 이렇게 꺾인 플라스틱은 크렉이 생기기 때문에, 재사용하는 걸 권장하진 않고요. 다른 CPU 쿨러에서 멀쩡한 고정핀을 뜯어서 교체(수리)했습니다.

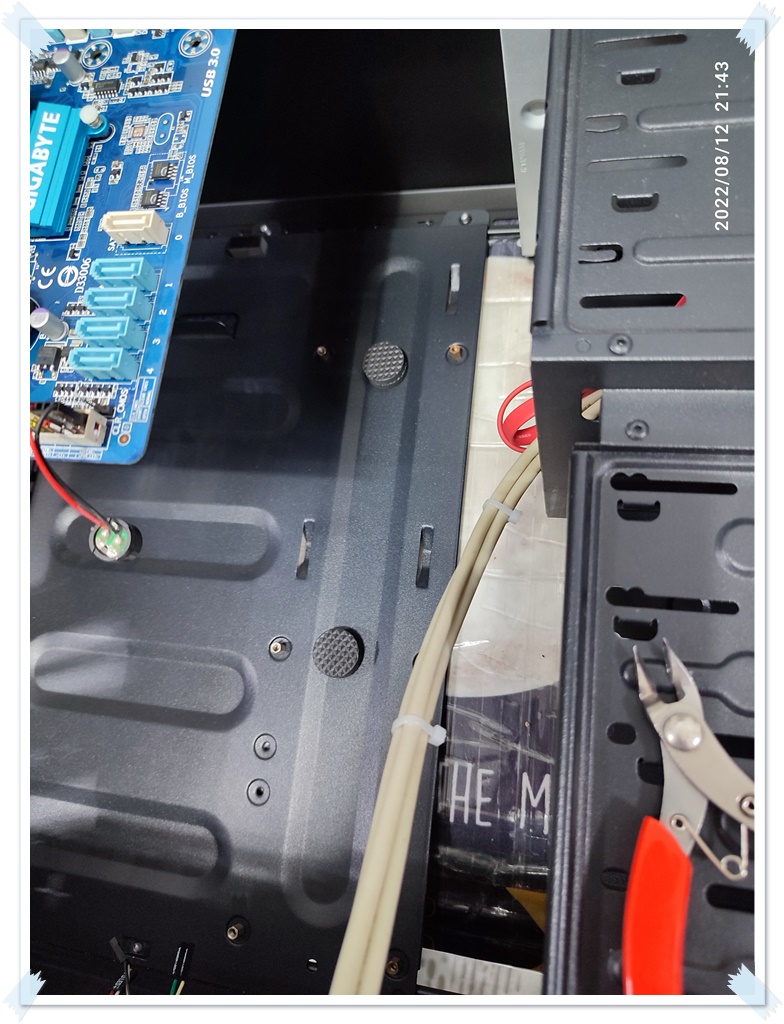
메인보드는 넓은 편인데, 케이스는 구형 케이스라서, 서포트 볼트를 고정할 구멍이 없어서 아래와 같이 스펀지를 대서, 메인보드와 케이스의 철판이 닿지 않도록 조치를 취했습니다. 필수적인 건 아니지만, 해두면 좋습니다. 간혹, 파워서플라이 전원 공급된 상태로 24핀 케이블을 꽂을 때, 기판이 처지면서, 케이스 철판과 합선 후 고장나는 사례가 있을 수 있습니다. 스파크만 튈 수도 있고요.
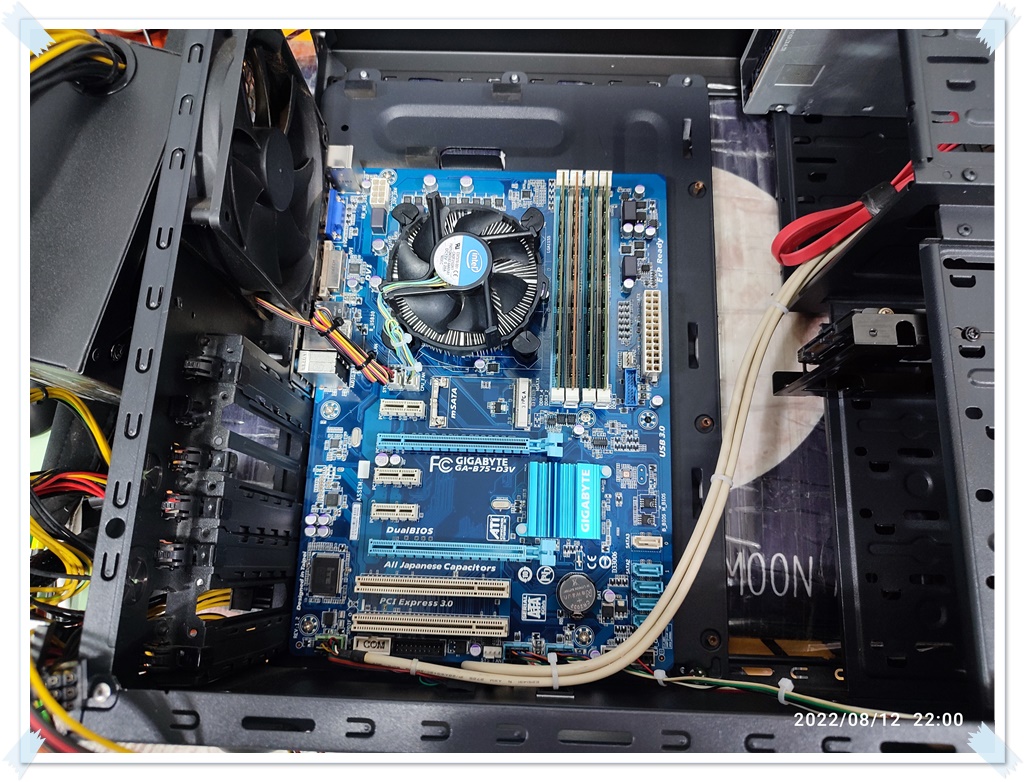
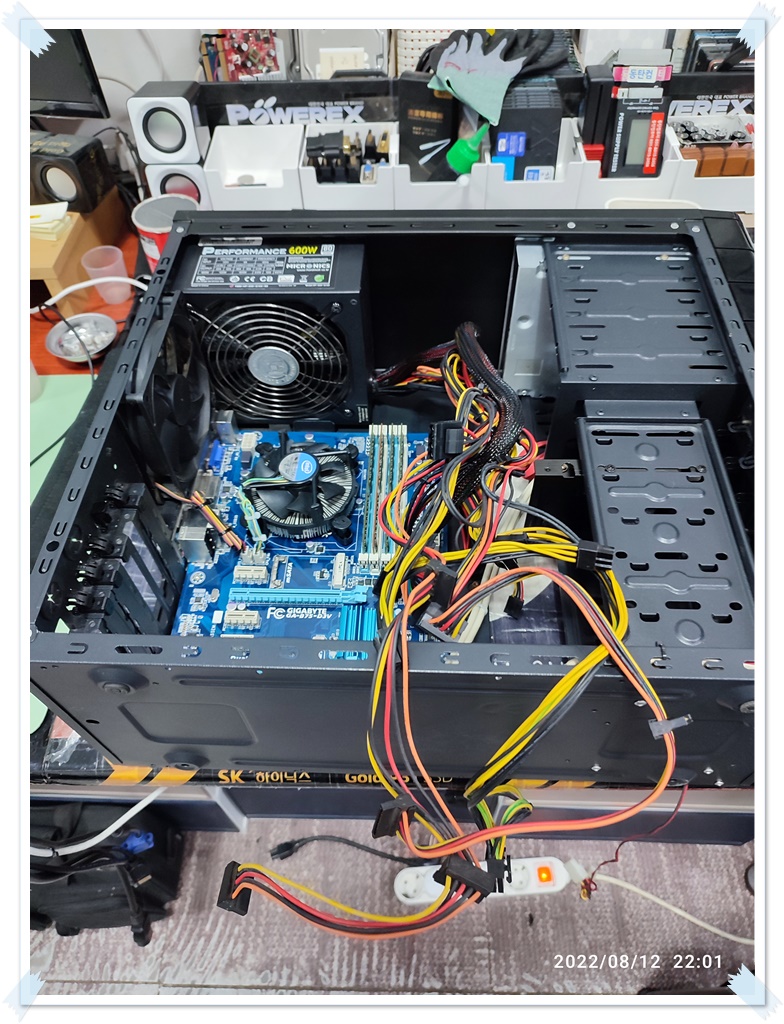
이 케이스의 서포트 볼트의 나사산의 굵기는 하드디스크, 파워서플라이 등의 제품을 고정하는 나사와 같습니다. 시디롬 고정하는 나사는 헛돌기 때문에, 조금 더 굵은 나사산(하드, 파워)의 나사로 고정시켰습니다. 요즘은 거의 시디롬, SSD 고정하는 나사로 체결하는 경우가 대부분이지만, 예전에는 이렇게 굵은 나사로 고정하는 케이스도 종종 있었습니다. 케이스에 메인보드를 안착 시키고 케이블 정리를 진행했습니다. 예전 케이스는 선들을 메인보드 위에서 정리하는 방식이 많습니다.



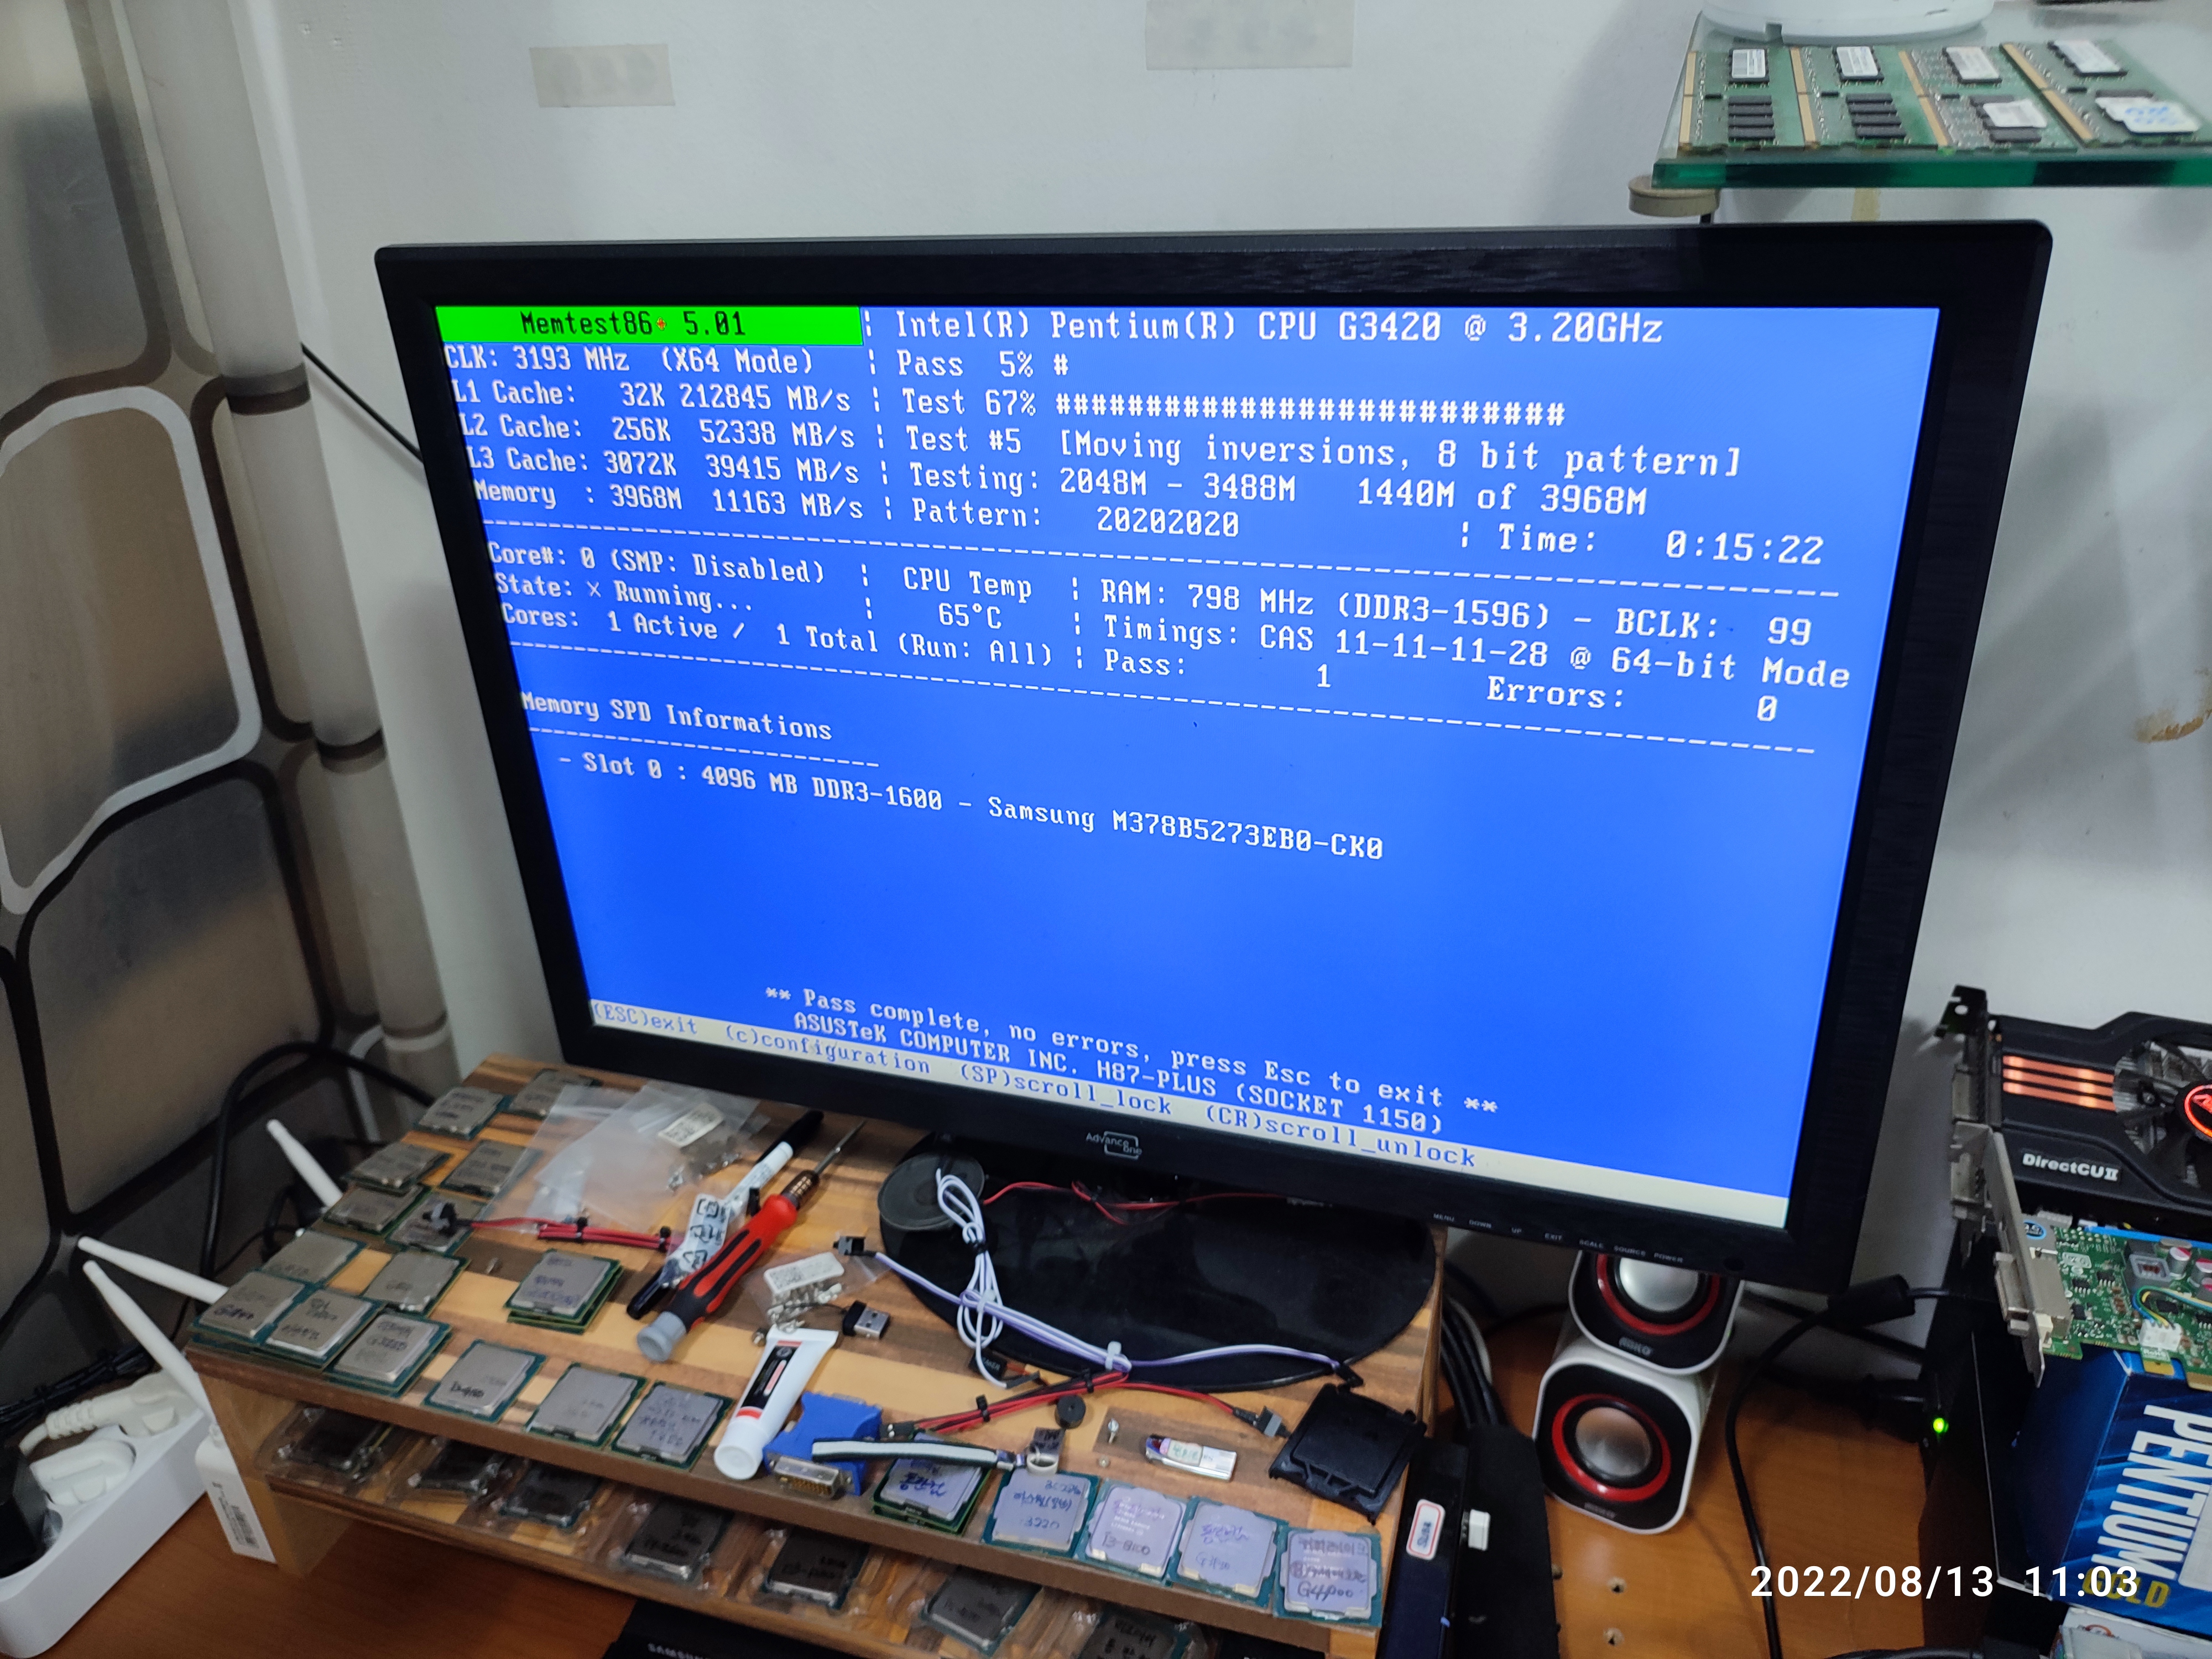
추가적으로 메모리 검사를 진행했습니다. 정상적으로 통과되면, 아래와 같이 PASS 1회가 뜨고요. 메모리의 에러가 있으면, 에러 개수가 올라갑니다. (오른쪽 사진처럼, 53% 진행중인데, 56576개의 에러가 검출됐다고 뜨네요. 정상적인 메모리는 0개가 뜹니다.)


메모리 4개 중에 하나는 에러가 검출됐습니다. 이 메모리를 조금 더 집중적으로 검사를 해봤습니다. 위의 점검한 메인보드는 또 다른 테스트용 메인보드이고요. 손님의 메인보드에 장착해서 이상 여부를 다시 확인해봤습니다.

아이러니한 경우가 아닐 수 없는데요. 손님의 메인보드에 메모리를 장착해서 검사하면, 아래와 같이 정상적으로 통과된 걸 확인할 수 있습니다. 이중으로 불량 체크가 된다면, 메모리의 불량으로 단정하고 제거할 수 있지만, 한 쪽에서는 정상 판별이 된다면, 불량으로 진단내리기가 참 쉽지는 않습니다. (A/S 센터에서 정상 동작해서, 다시 받았는데, 내 컴퓨터에는 계속 오류가 발생하는 경우처럼, 누구의 잘못이라고 딱 잘라 말하기가 어려운 경우입니다. 보통은 부속 간의 궁합 - 접속의 문제도 있을 수 있기 때문에, 딱 끊어서 원인 찾기가 어려운 경우입니다. 센터에도 자신의 상황을 설명하고 같은 제품으로 맞교체를 받아보실 거 같습니다.)


손님 메인보드에 장착해서, 추가적인 테스트를 진행합니다. 아래의 테스트는 윈도우10에 내장된 메모리 진단 도구 프로그램을 이용해서, 테스트를 진행하고 있습니다. 별다른 문제가 없이 통과됐습니다. 윈도우 로그에서 시스템 항목에서 메모리 진단 결과를 필터링해서 확인해보면, 오류가 없었다고 표기가 됩니다.
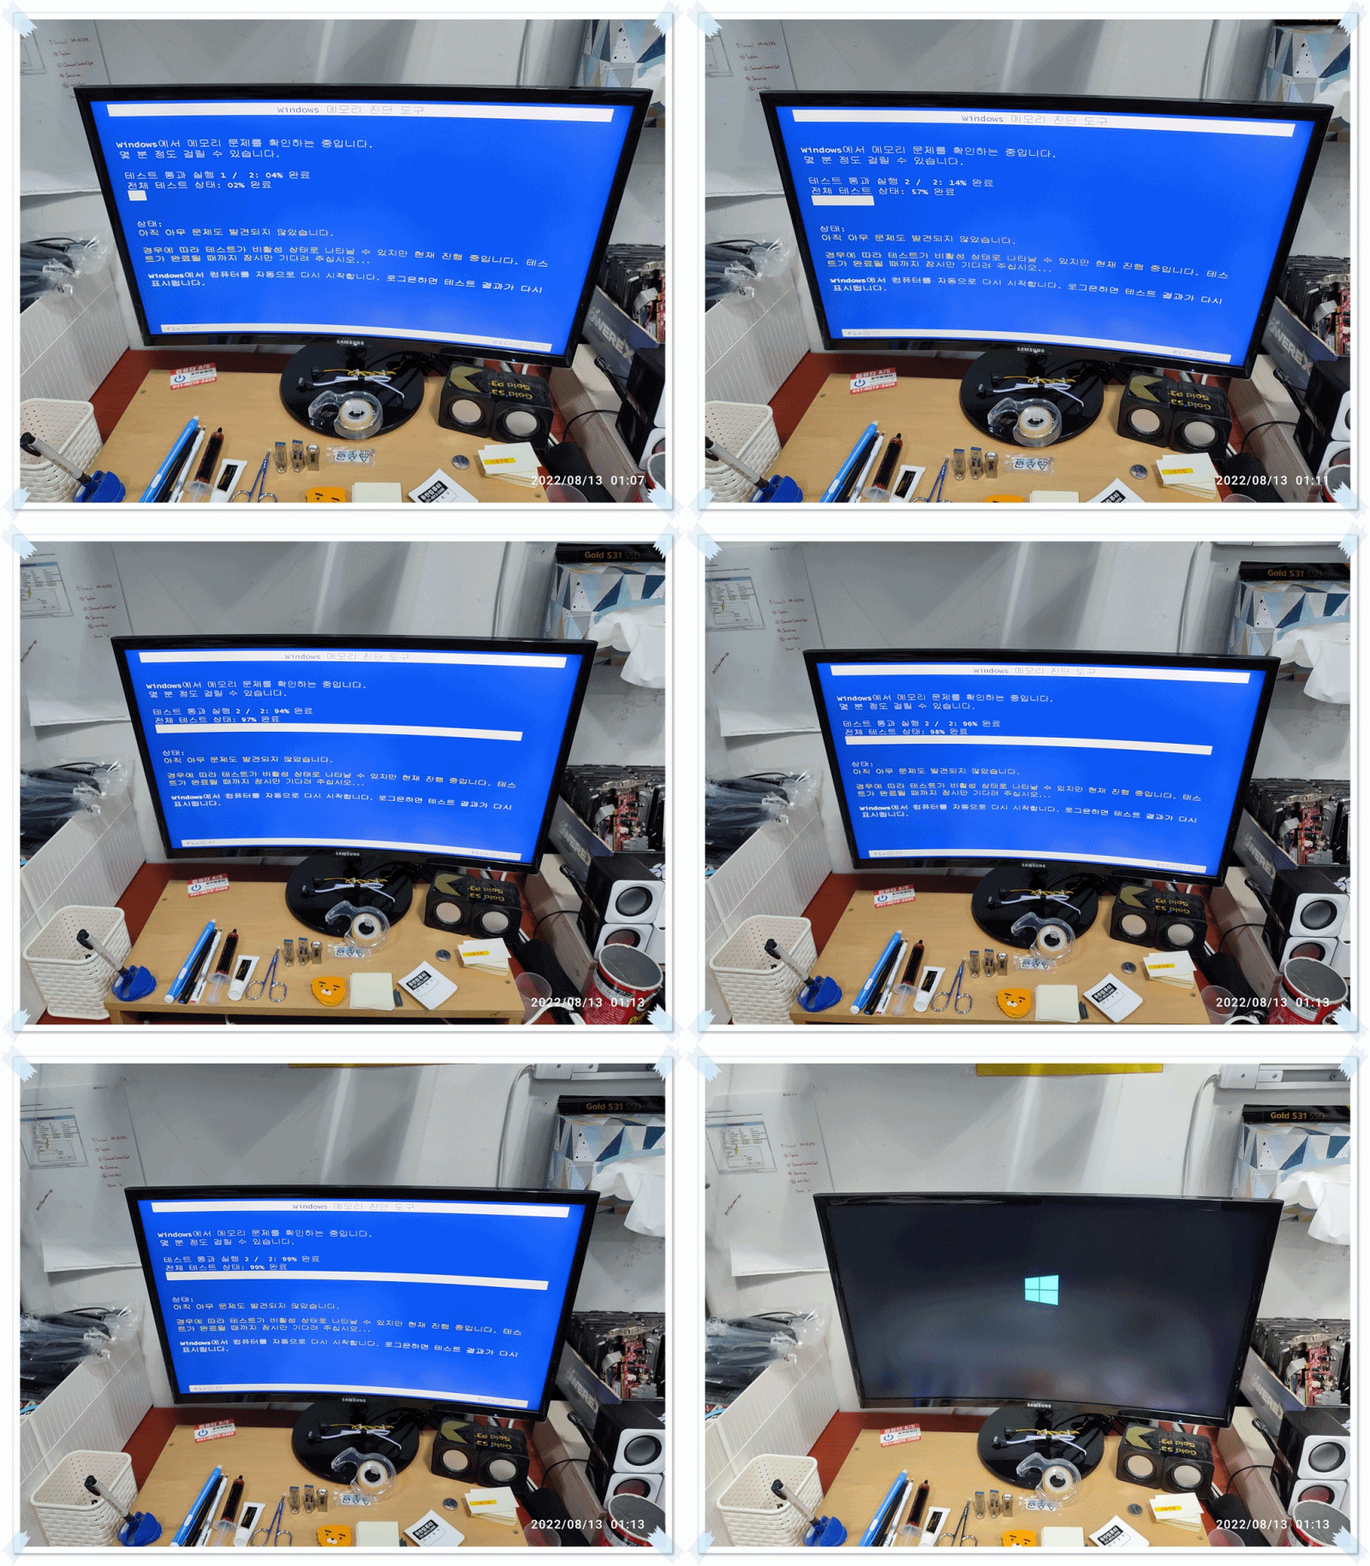

다음날, 다시 오류가 검출된 제 메인보드에 손님의 메모리를 재장착해서 추가 테스트를 진행해봤는데요. 이번에는 에러가 안 뜹니다. 참 원인을 알기 어려우니, (찾기 어려우니) 이해가 안되는 상황이 아닐 수 없습니다. 에러가 검출됐었지만, 현재는 검출되지 않는 상태라서, 추가적인 점검은 의미가 없고 컴퓨터의 이상이 생기면, 스티커 부착한 메모리를 제거해볼 거 같습니다. DDR3 4GB의 메모리라서, 그렇게 비싼 부품도 아니기 때문에, 문제가 있으면 계속 사용하지말고 제거 또는 교체하실 거 같습니다.

아 래와 같은 이중 경고문?을 부착해서 출고했습니다. 나중에 컴퓨터의 문제가 생겼을 때, 이 메모리를 중점적으로 확인해볼 거 같습니다. (제거하는 걸 권장드렸습니다.)

컴퓨터수리 : 네이버
방문자리뷰 36 · 블로그리뷰 139
m.place.naver.com
2023년 01월 27일 내용 추가 : 간헐적인 블루스크린 뜨는 컴퓨터가 입고됐습니다.
(1) 접수 증상 : 평소에 컴퓨터 사용하다보면, 블루스크린이 간헐적으로 뜬다고 하시네요.
(2) 점검 결과 : 메모리 불량입니다. 삼성 신품 메모리 교체 출고했습니다.
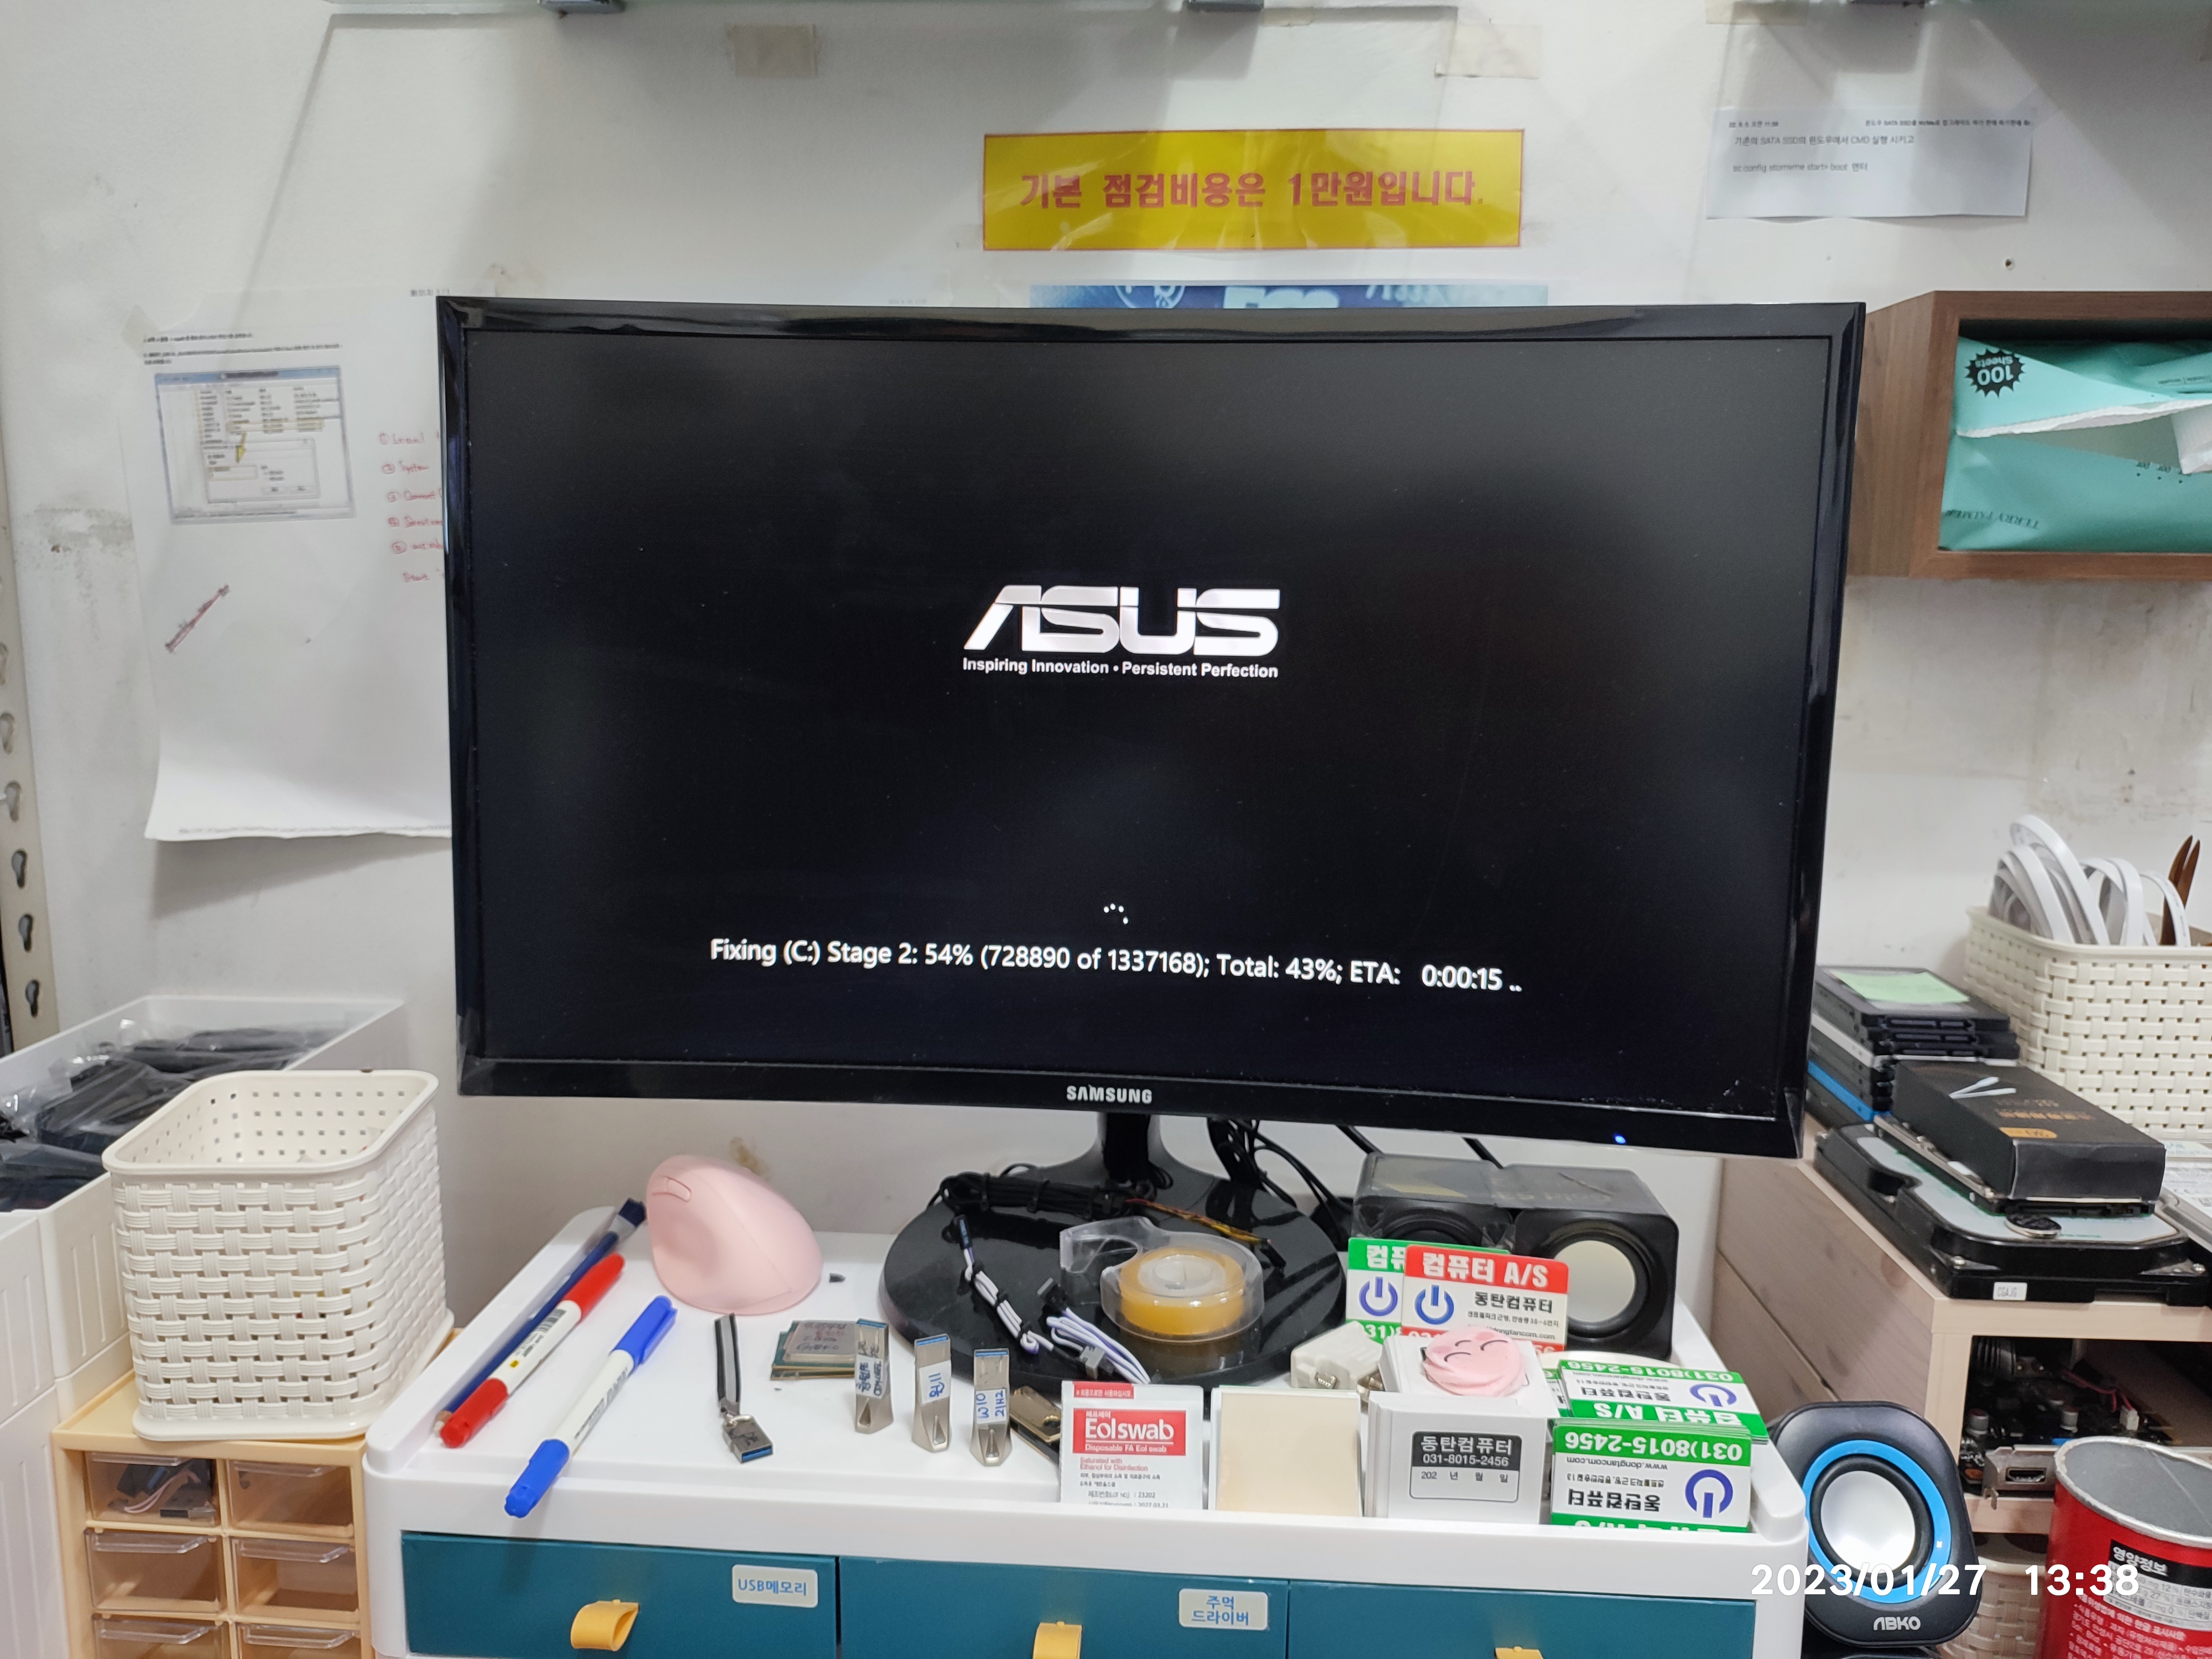
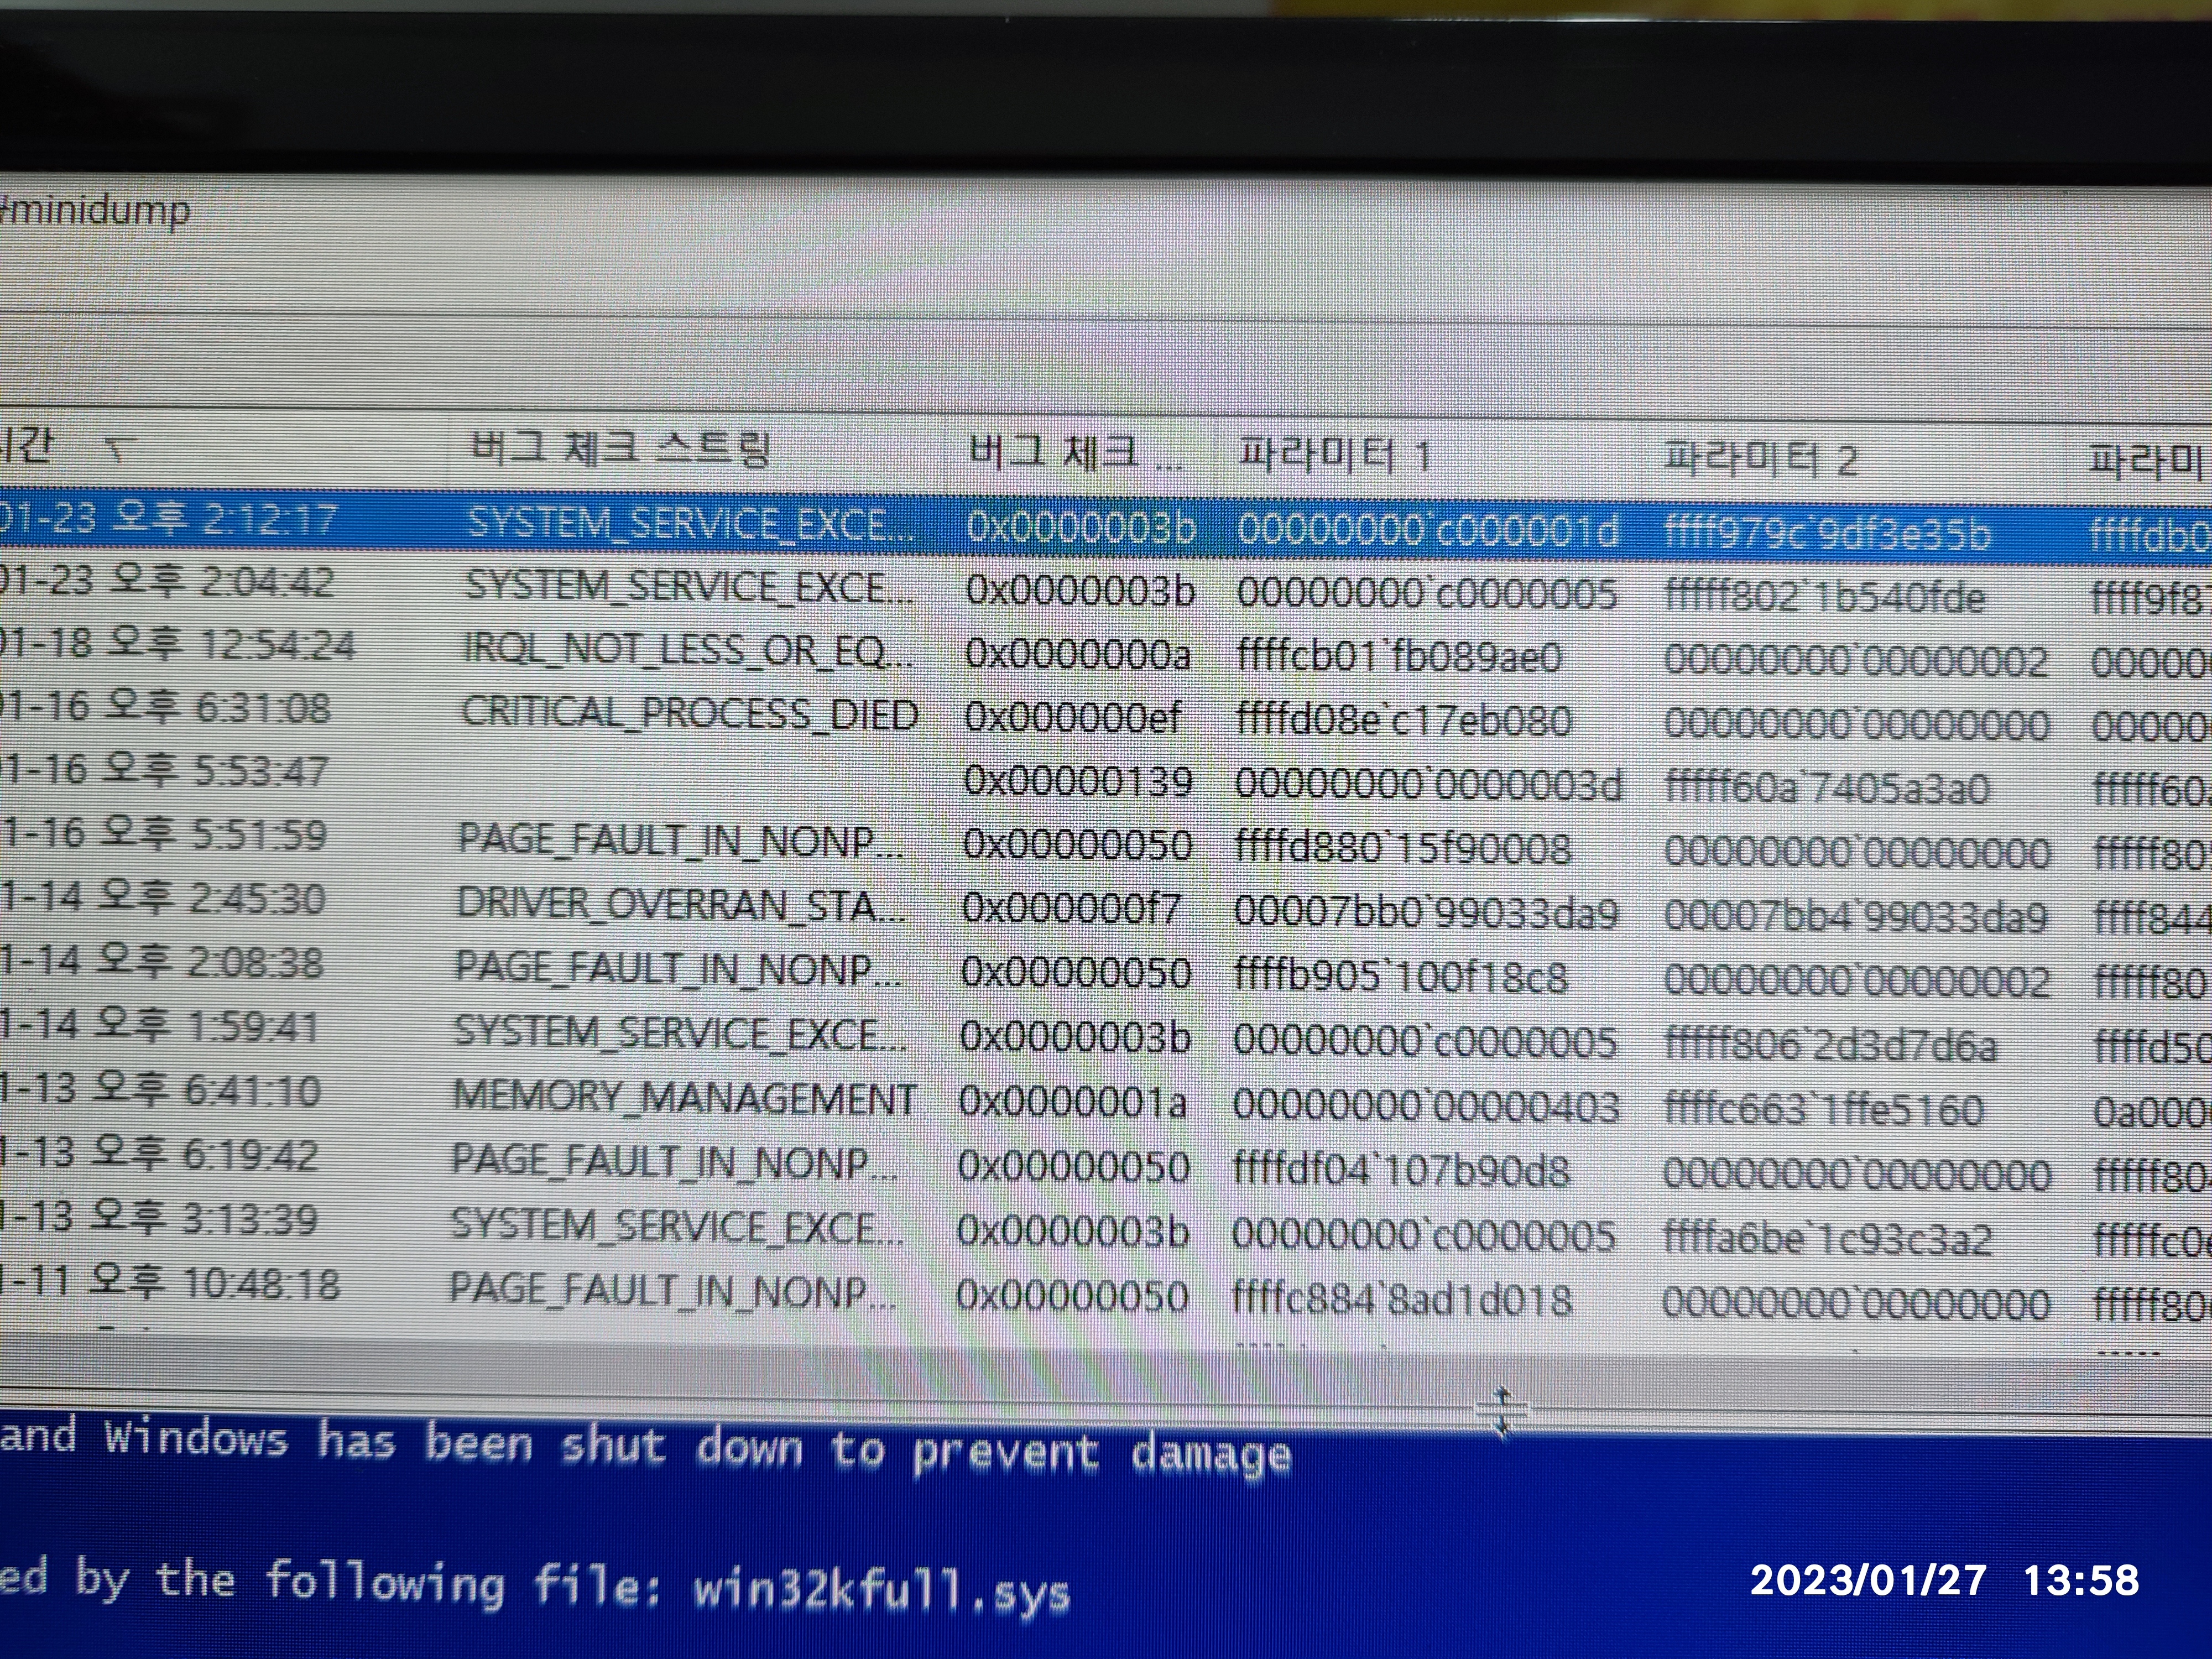
강제 종료가 많이 생겨서 그런지 부팅하면, 위와 같이 디스크 체크가 실행됩니다. 윈도우 켜지고 블루스크린 뷰어로 기존의 블루스크린 종류를 확인해보고 있습니다. 오류 코드가 일정하지 않고 중구난방입니다. 그래서, 일단 컴퓨터를 사용해보시라고 권해드렸는데요. 저희 매장에서는 컴퓨터가 꺼지질 않았습니다. 사용할 때는 컴퓨터가 느린 증상 외에는 별다른 문제는 없었는데, 마지막으로 종료하는 순간에 블루스크린이 한 번 떴습니다.


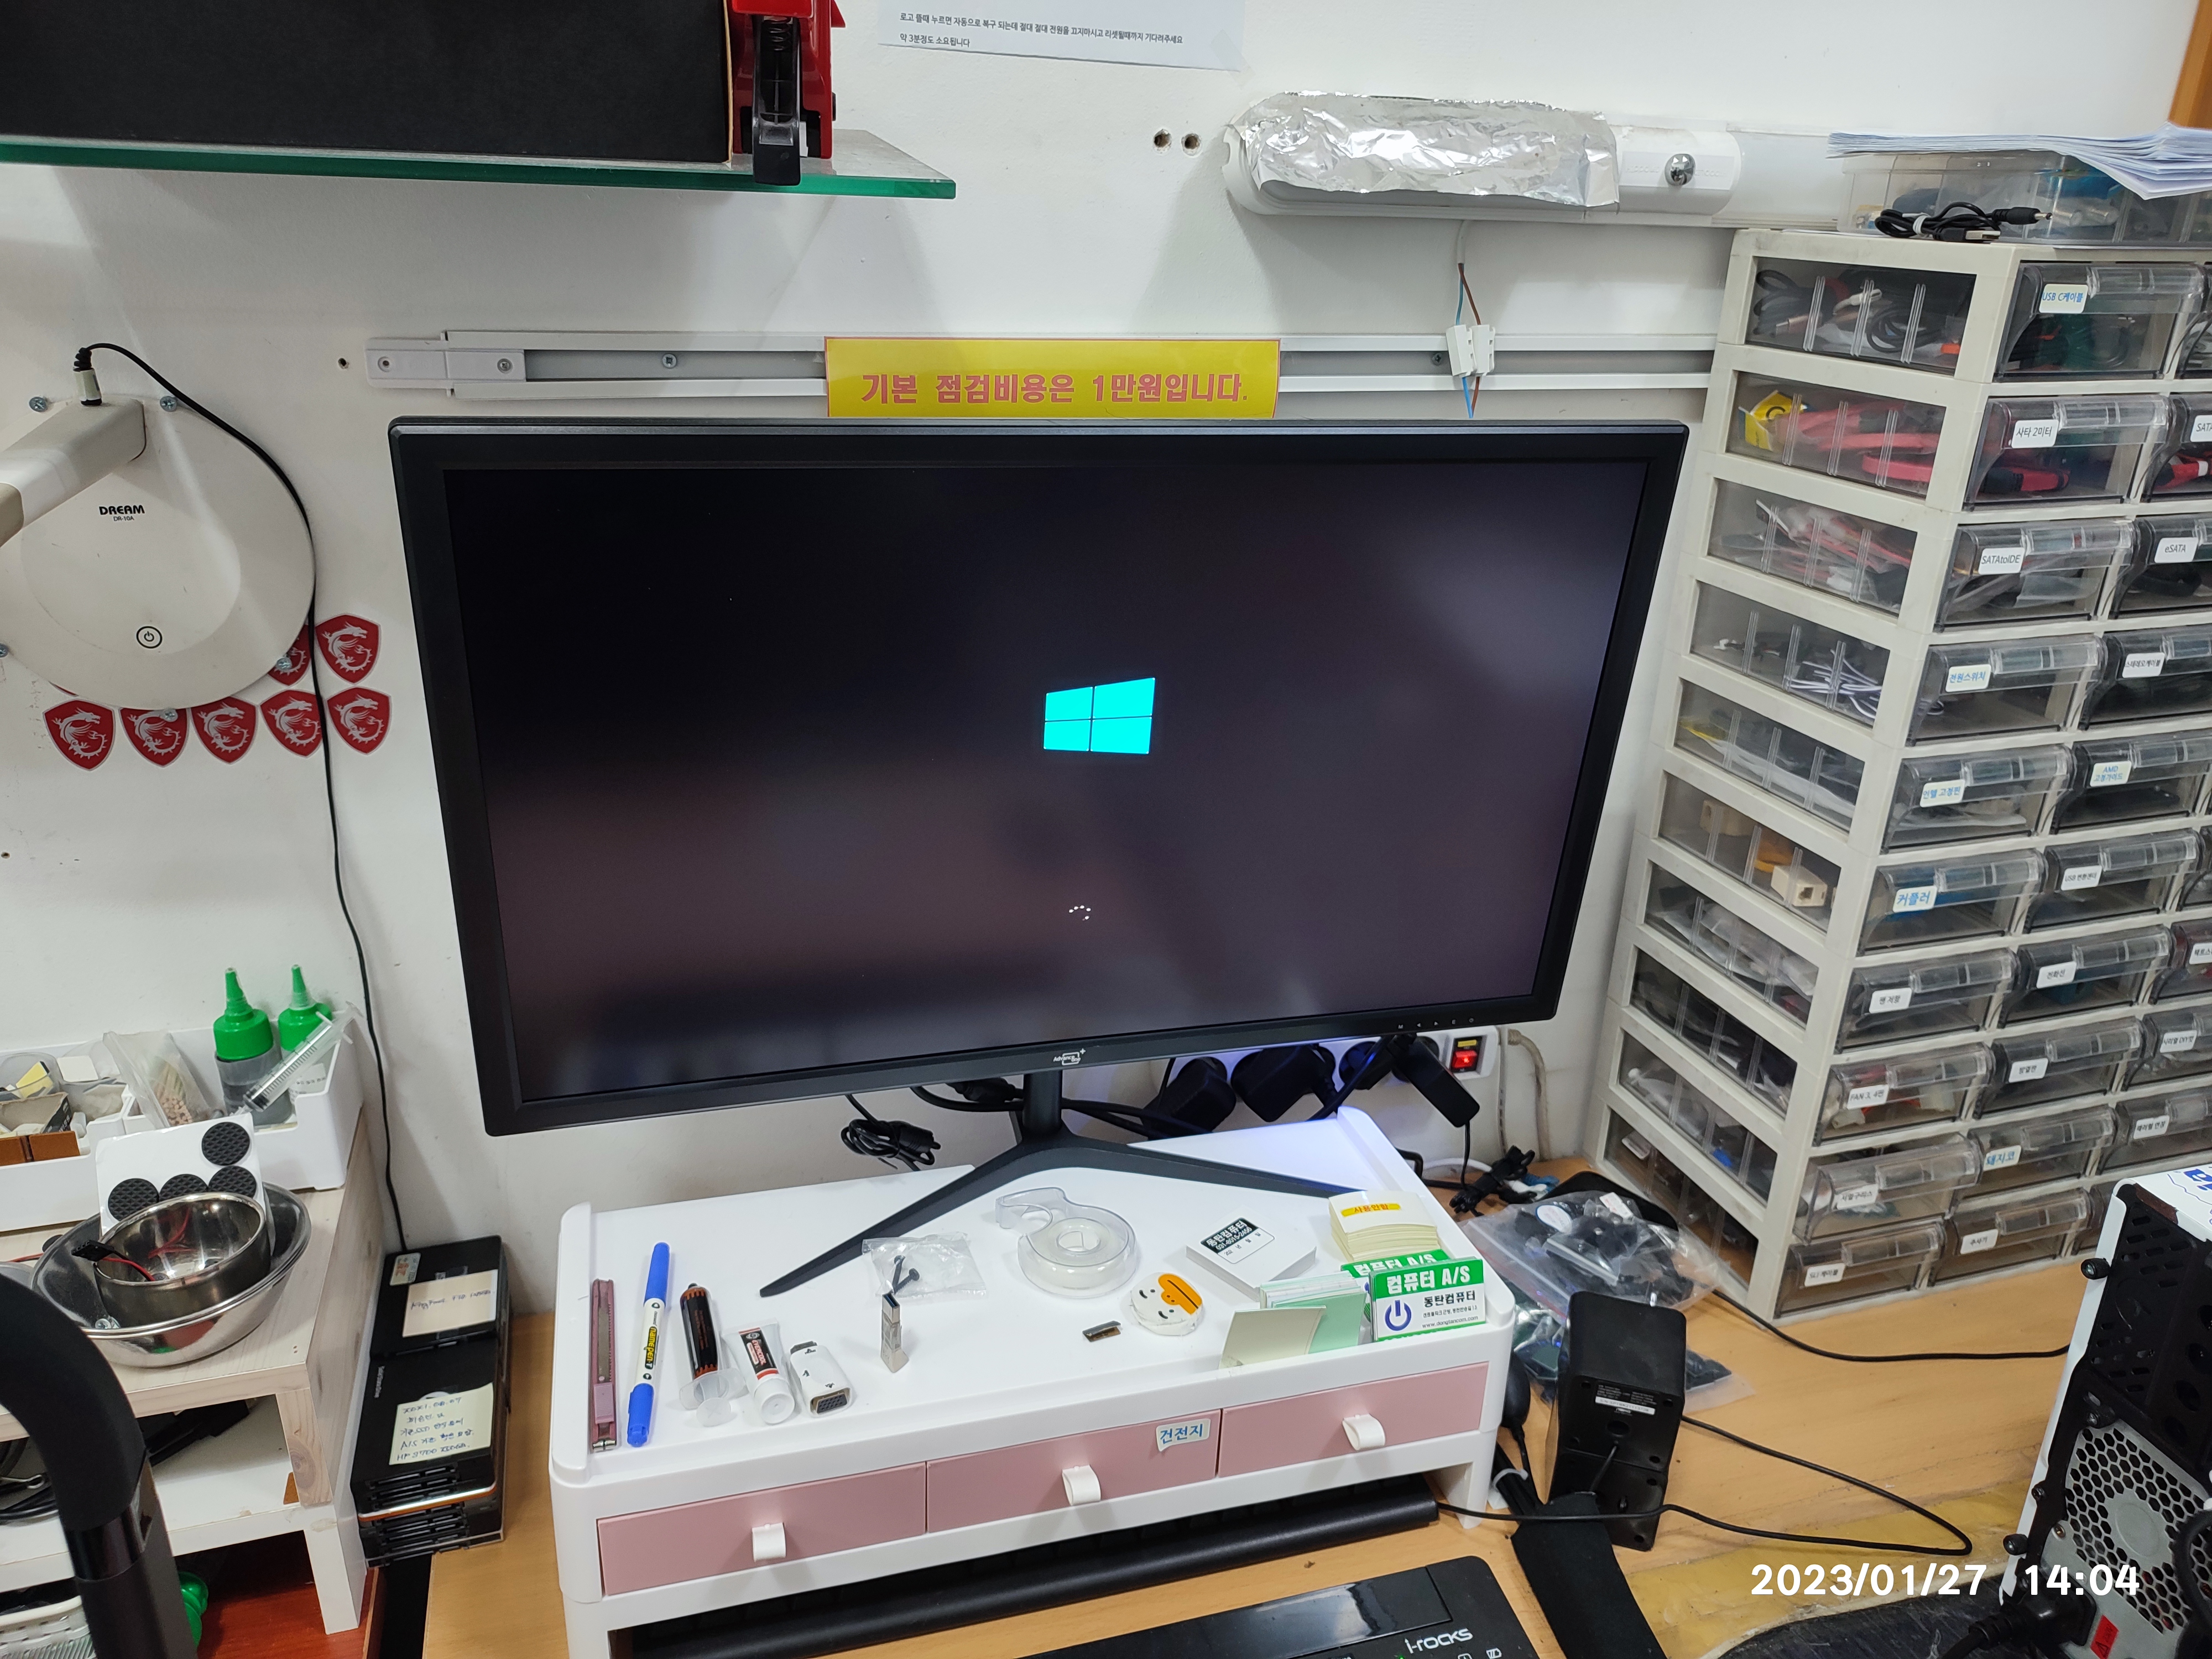
손님의 메모리를 제거해서 테스트할 예정입니다. 손님 메모리에 성함을 네임펜으로 한자만 적어뒀습니다.

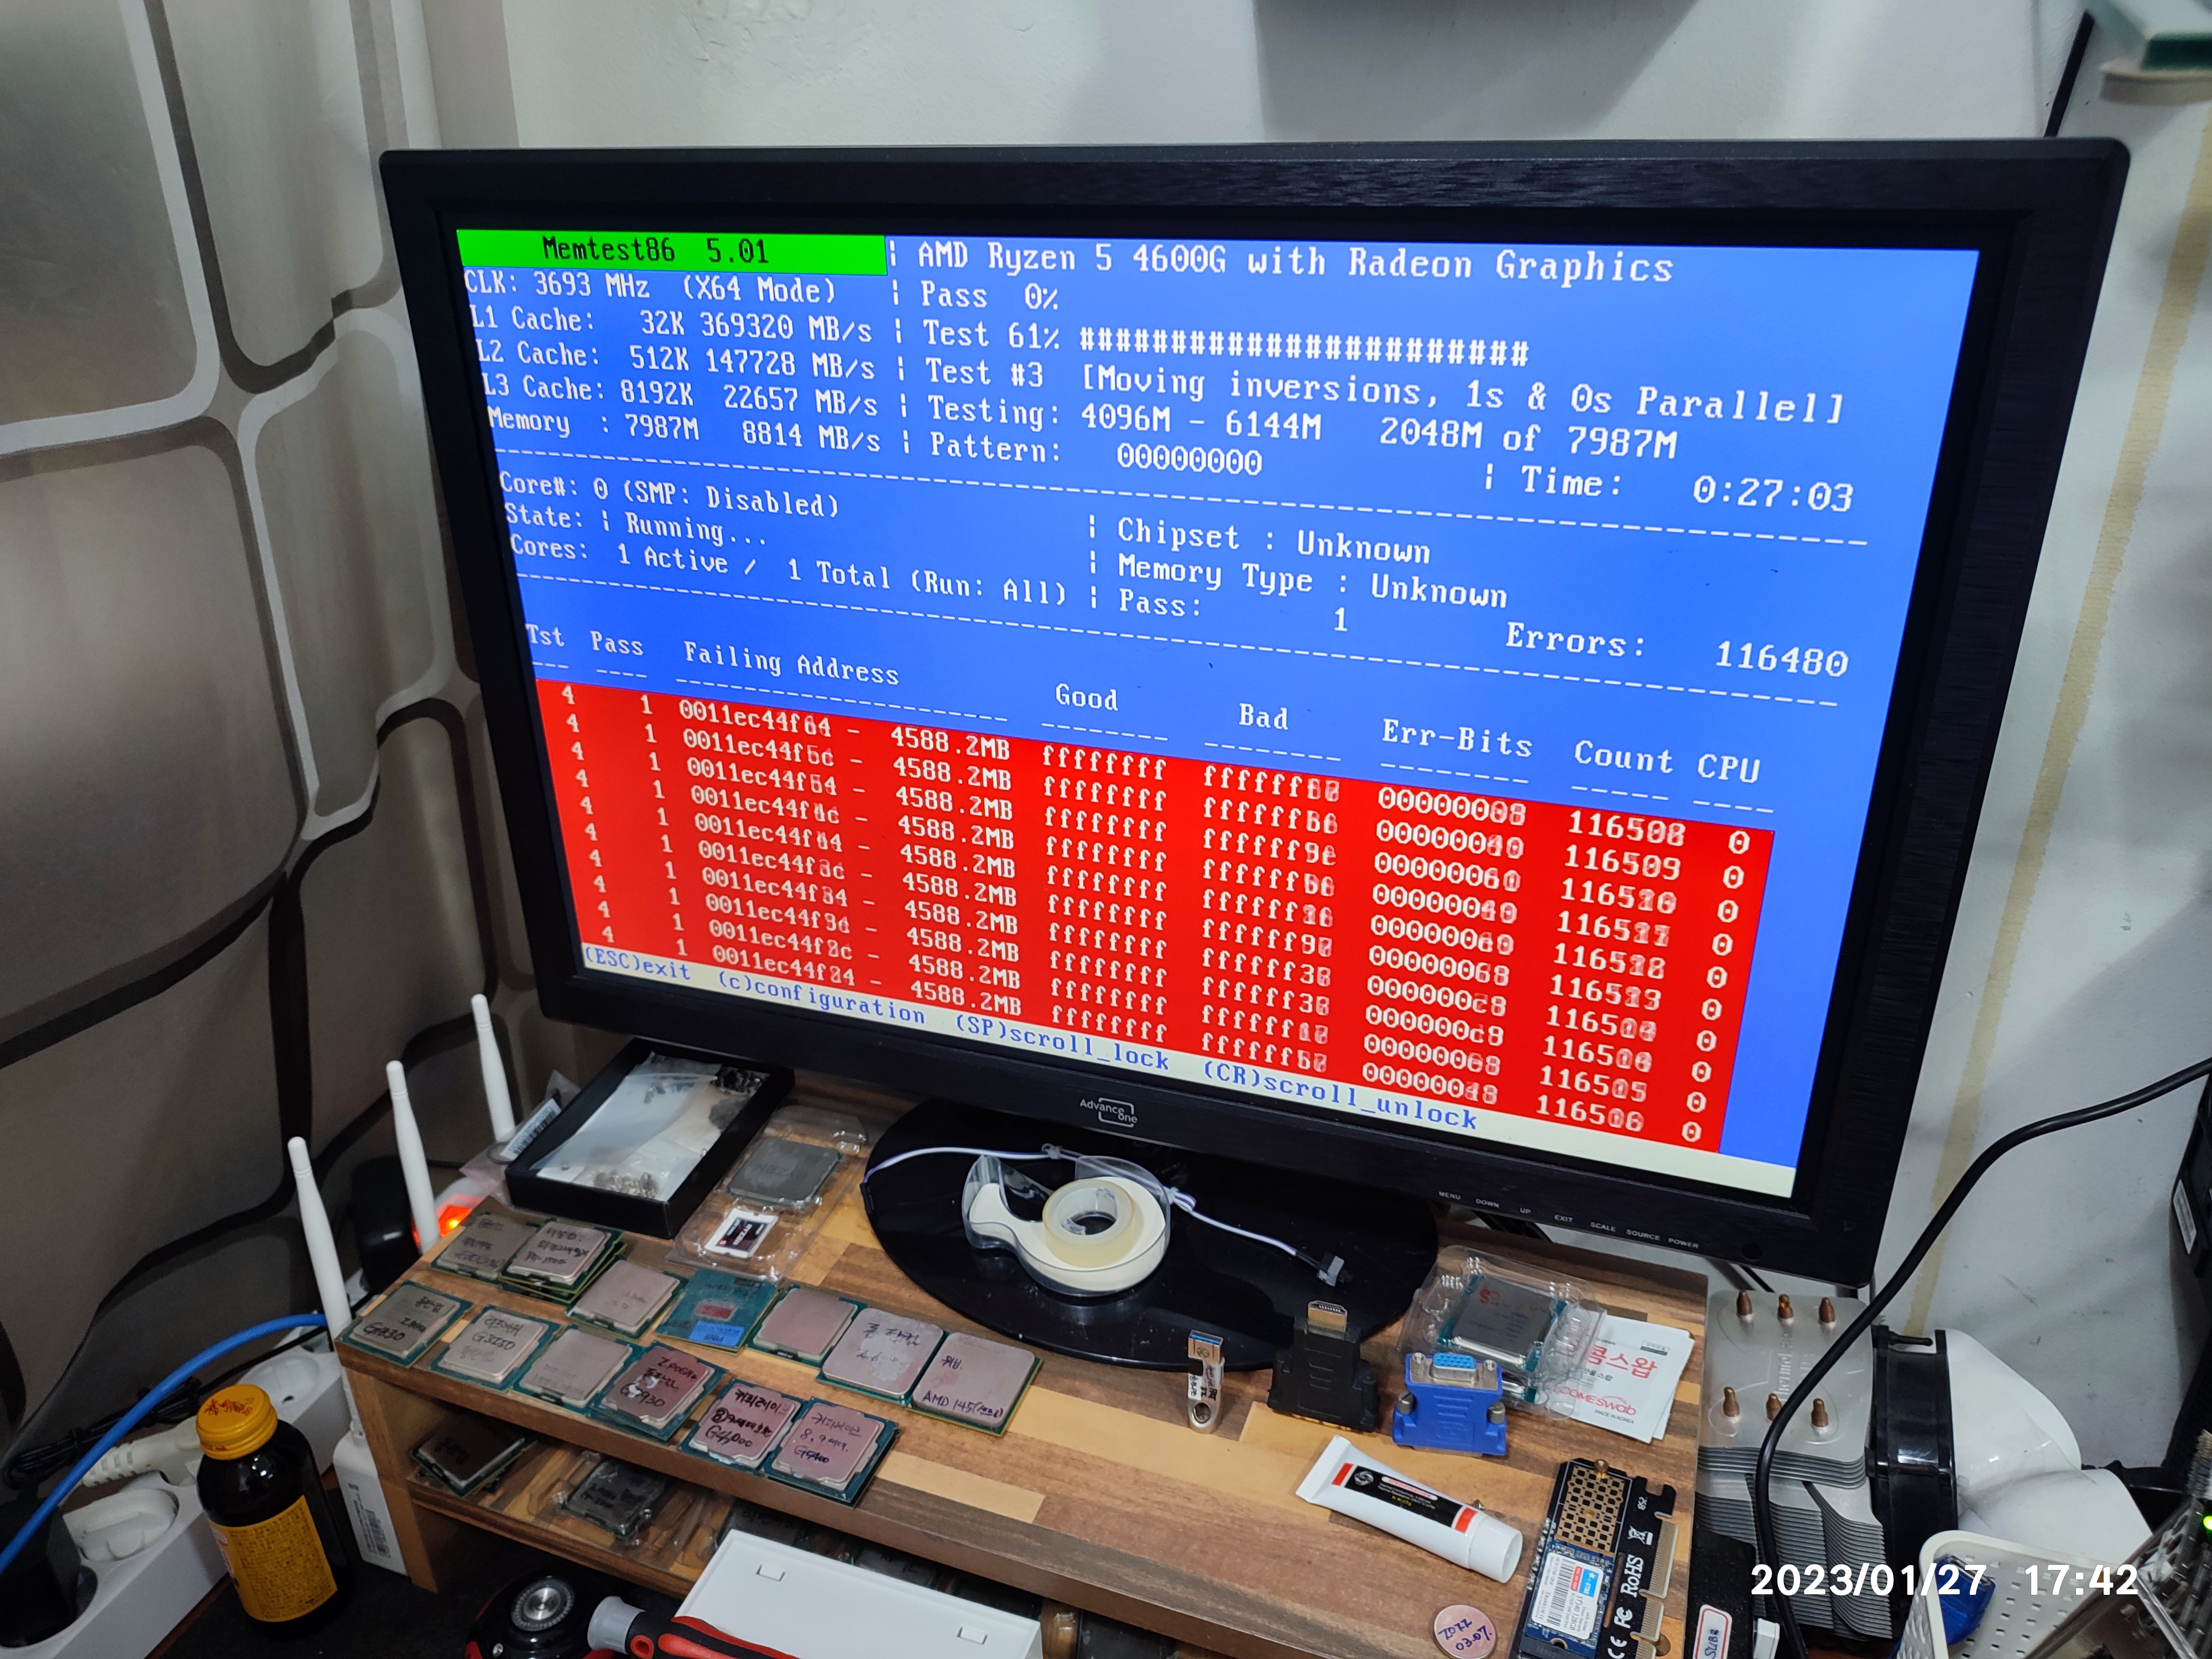
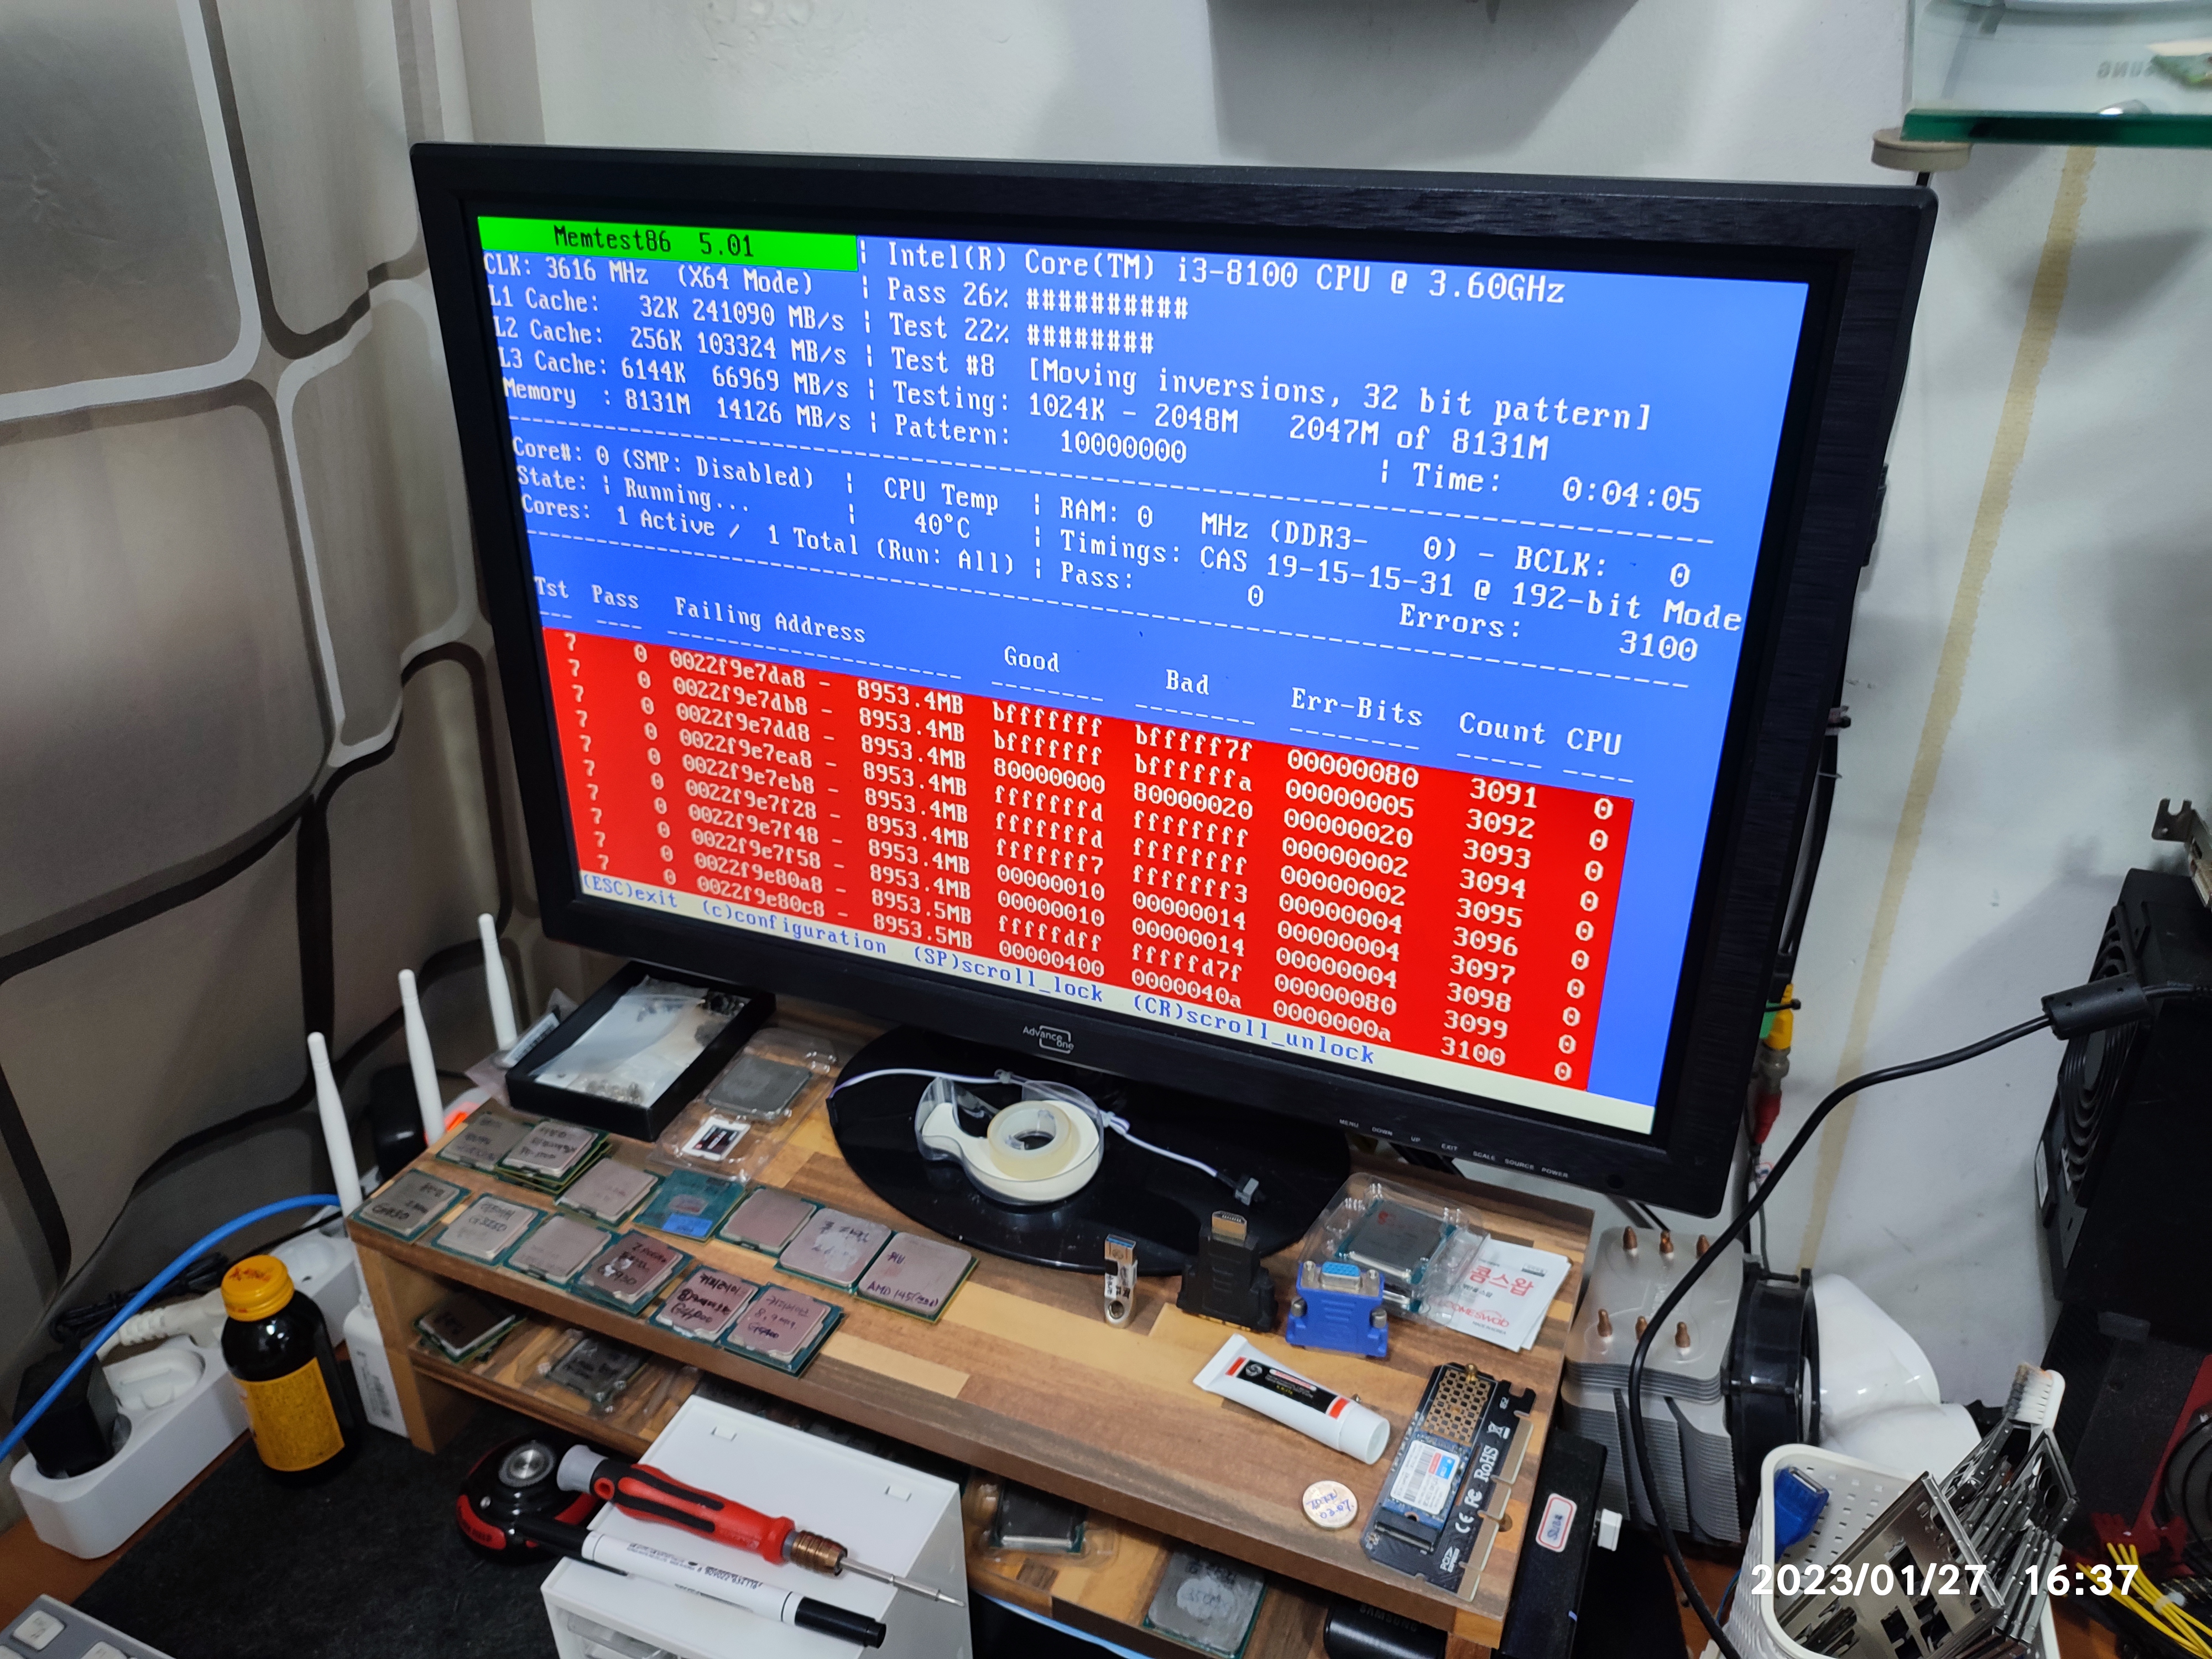
제 테스트용 컴퓨터에 손님 메모리를 연결해서 테스트를 진행했더니, 아래와 같이 에러가 검출되는 중 입니다.
상위 버전의 메모리 테스트 프로그램도 동일하게 에러 검출이 됐습니다.
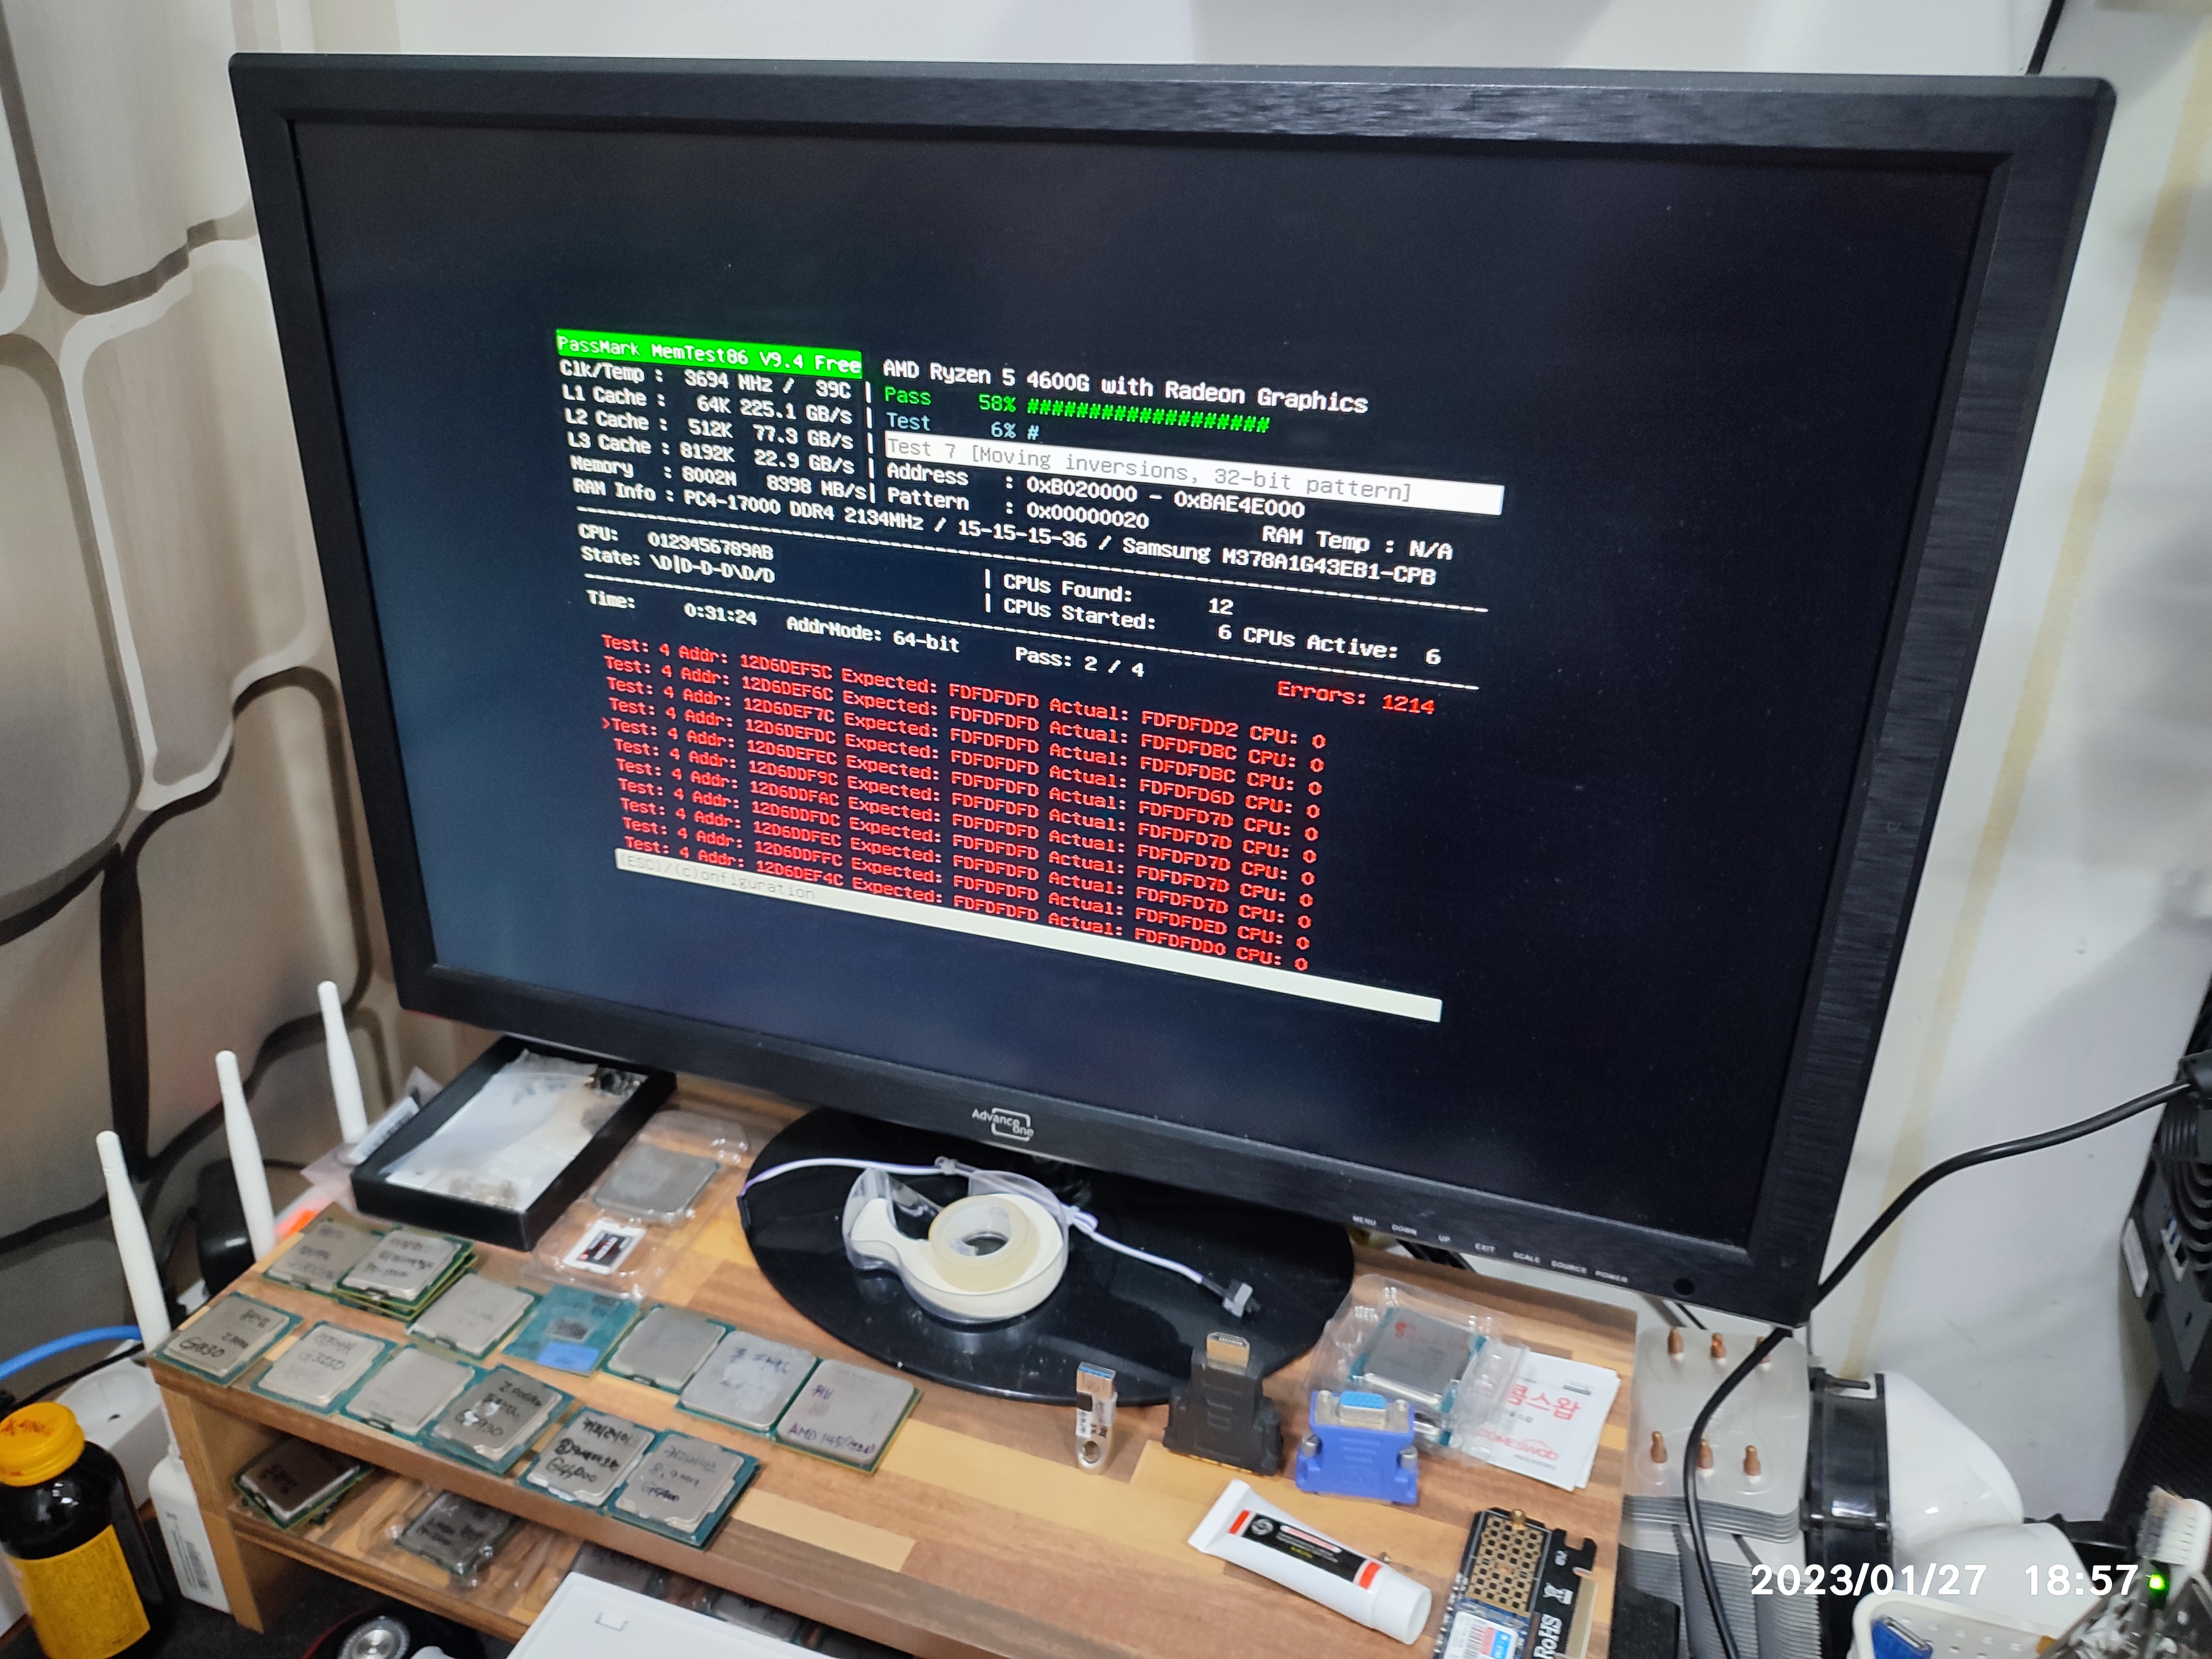


불량 메모리는 고장 스티커를 부착해서 손님께 돌려드렸습니다.

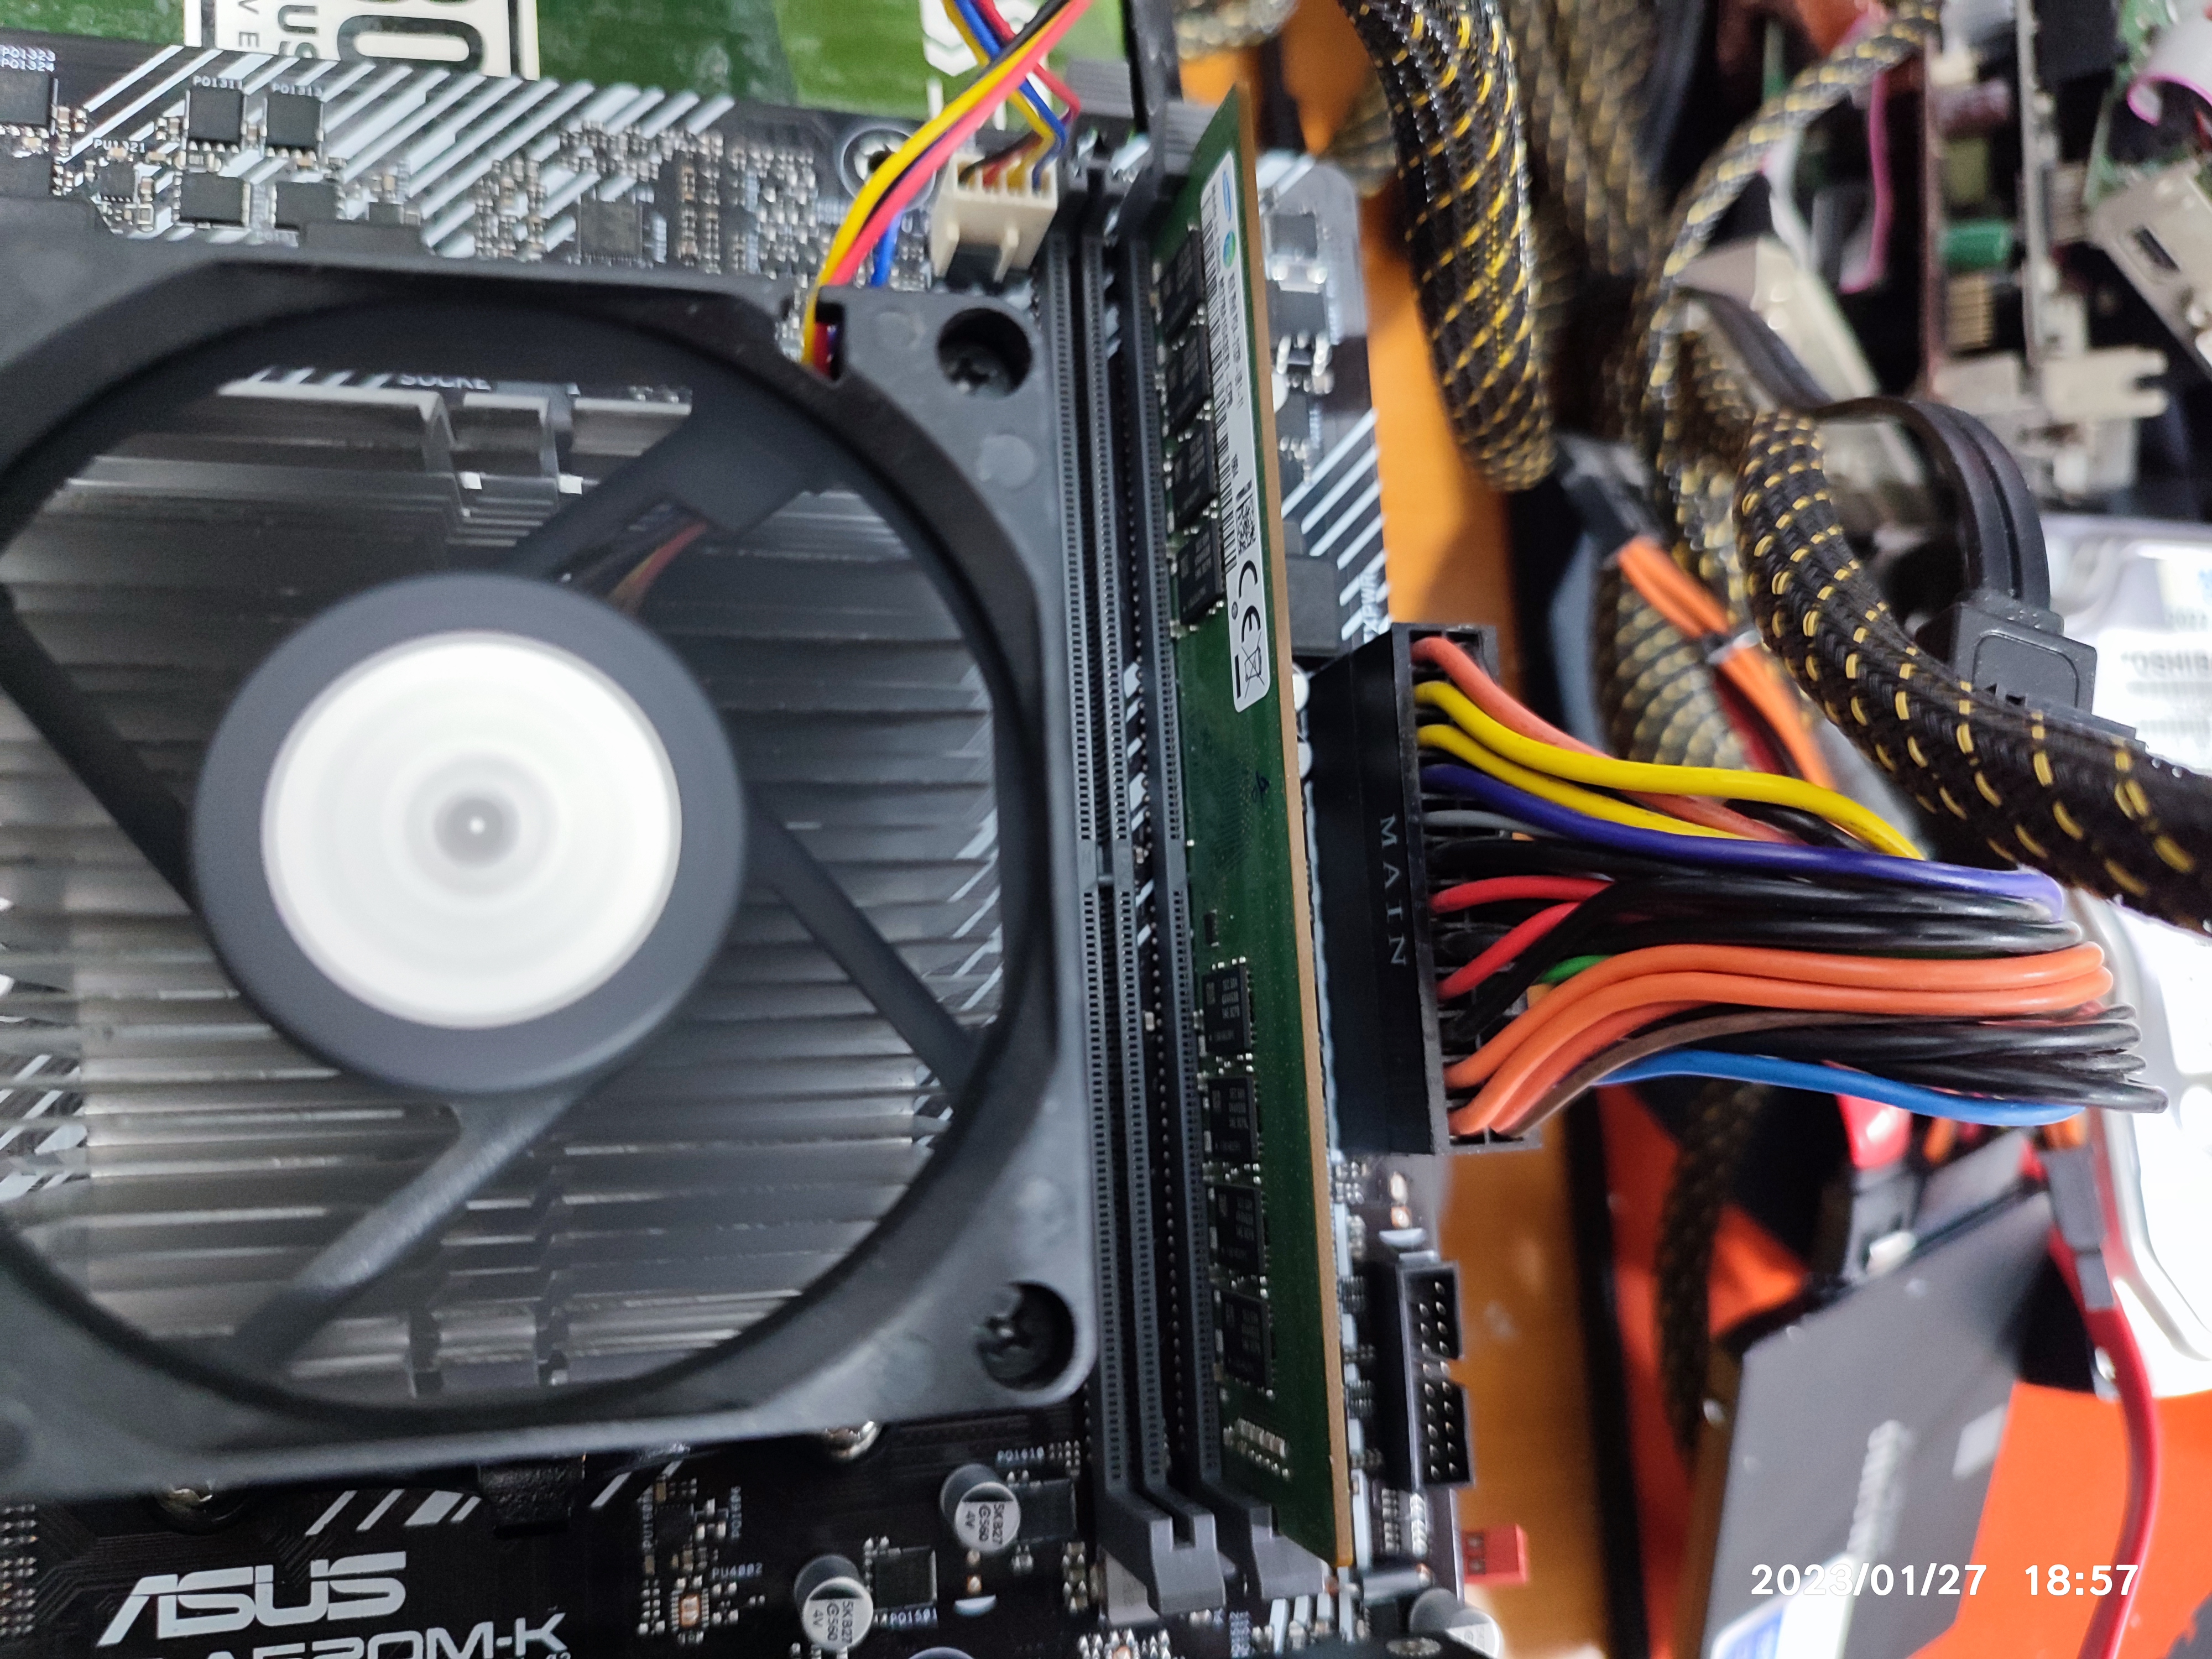
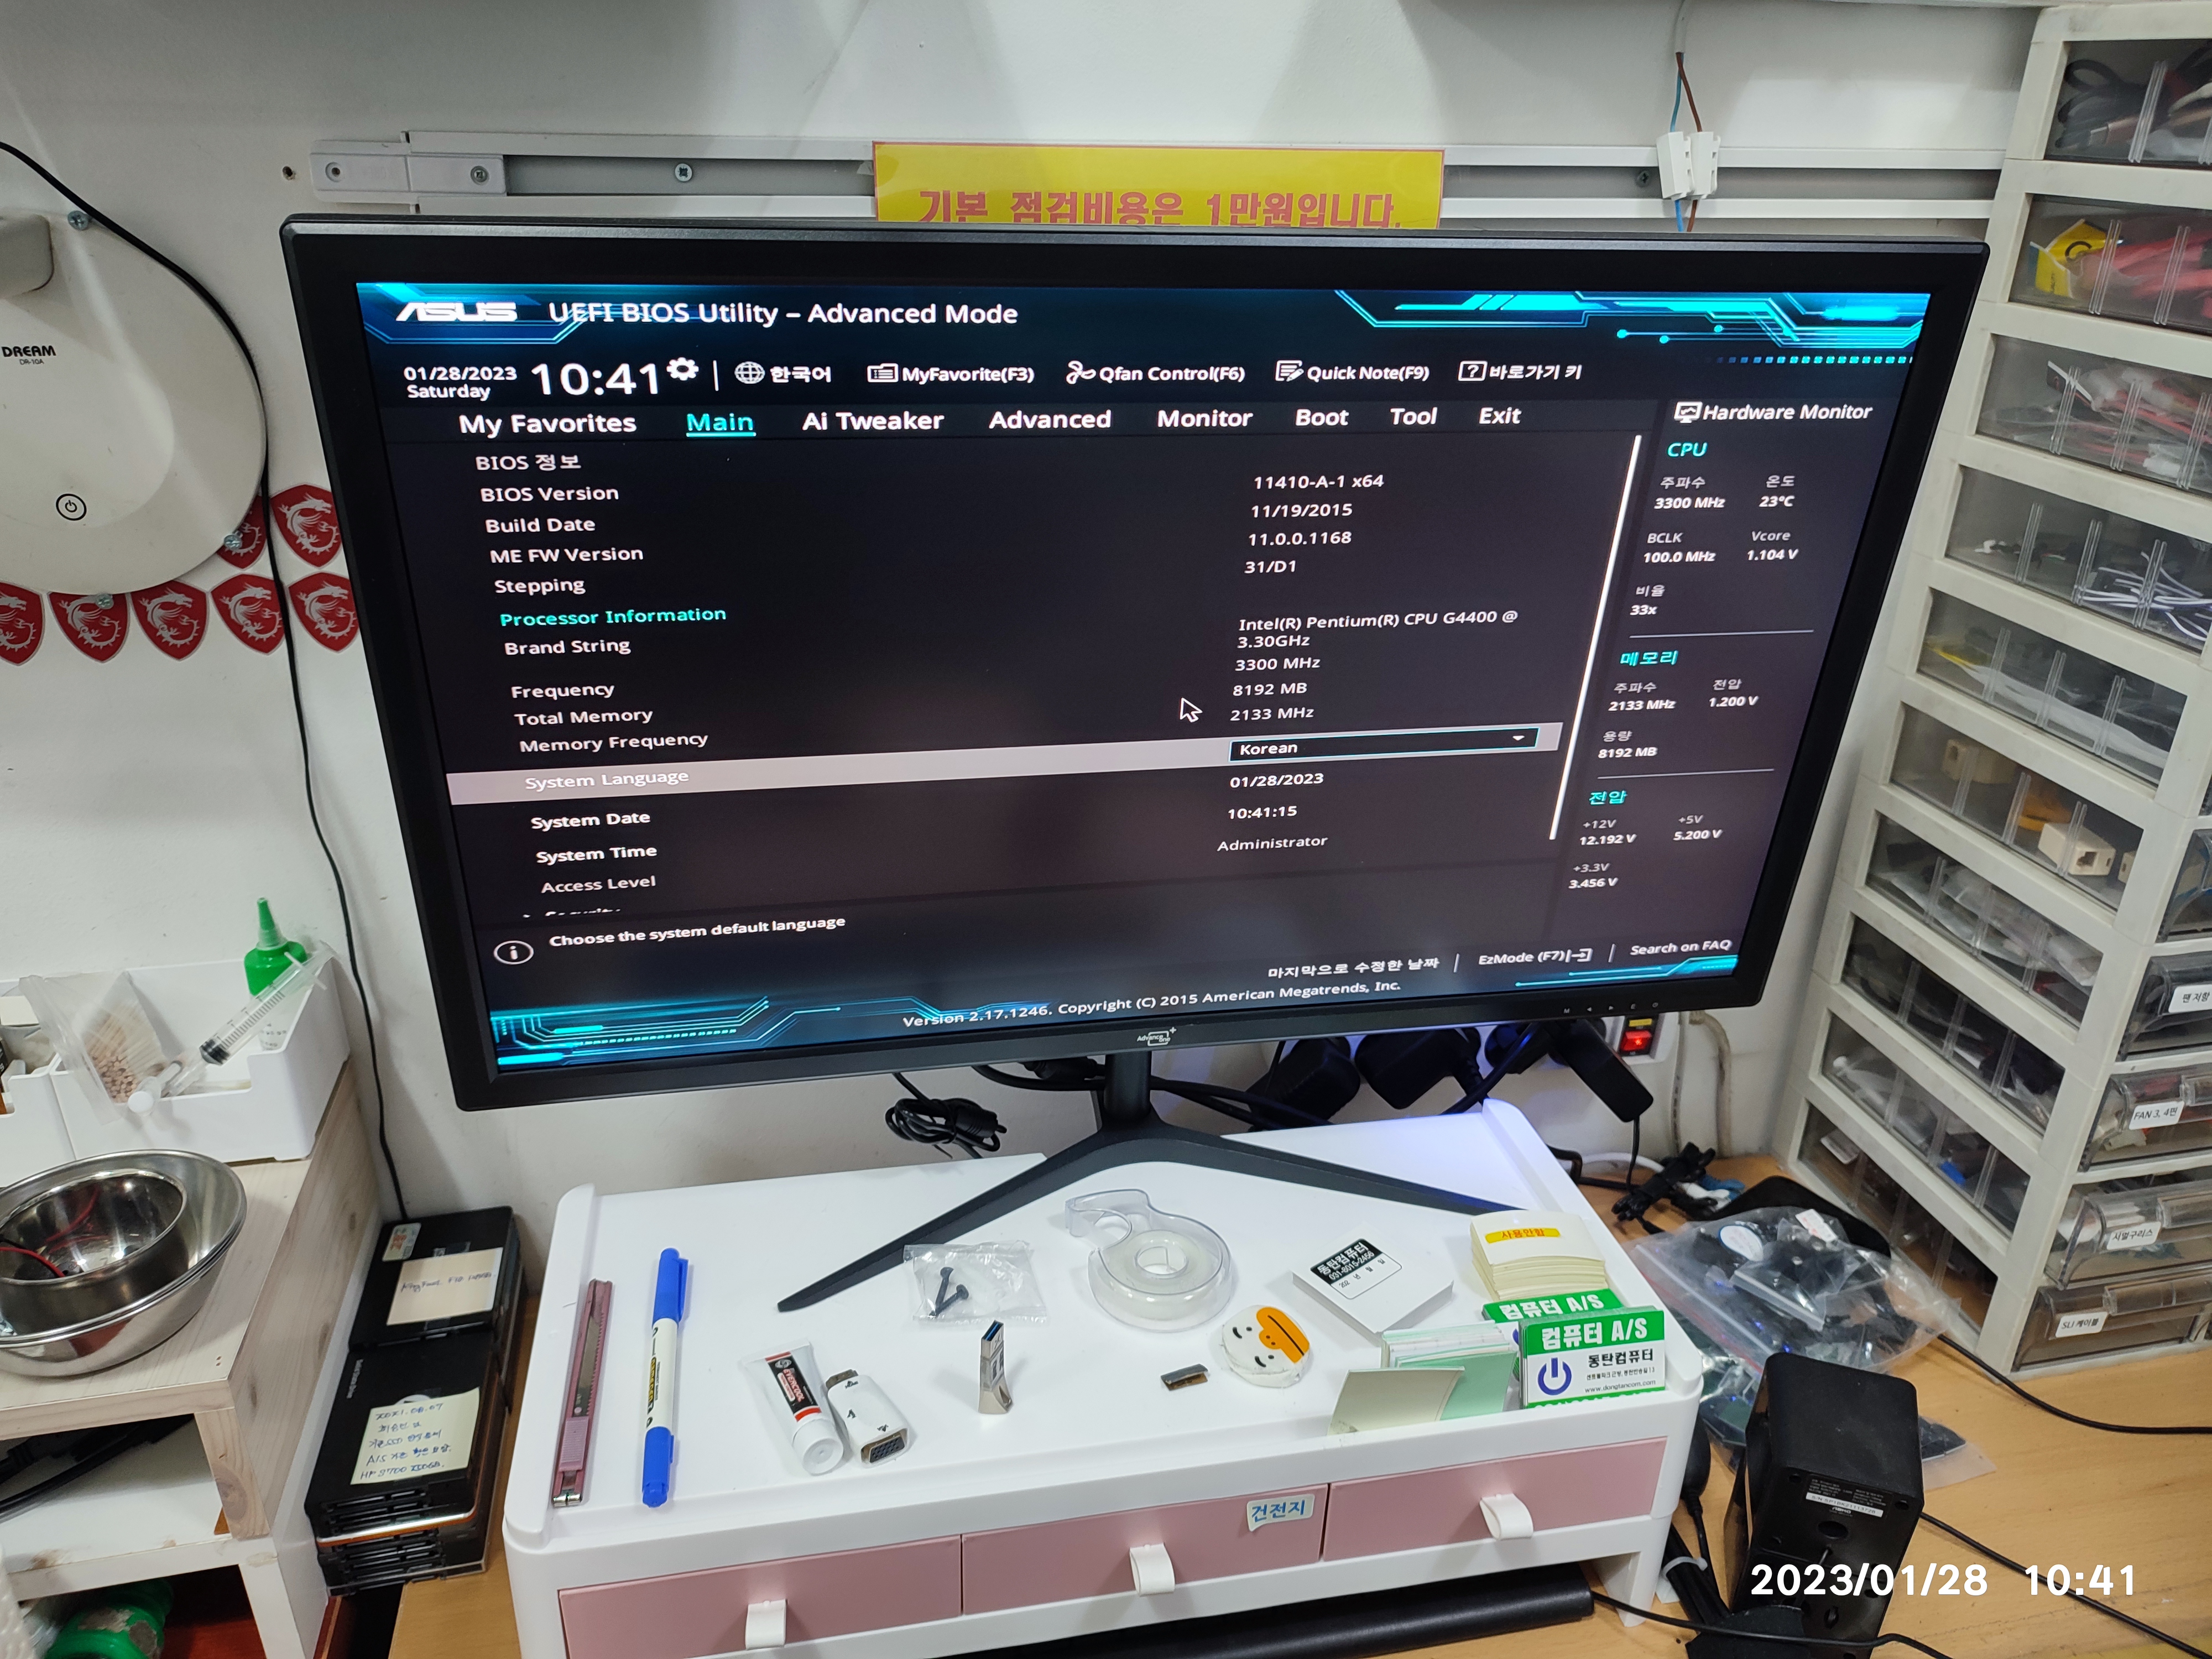
삼성 DDR4 8GB 3200 메모리 신품을 장착해서 출고했습니다. 메인보드(CPU)의 한계로 3200MHz로 동작하진 않고 2133MHz로 동작되는 중 입니다.
The customer brought a used main board. There are few customers who buy the main board separately like this. I'm careful about these repairs. Because you can't try it at home, you often bring it, but usually the pins in the CPU socket are broken, so it's a process of checking and reassembling all the components, so it takes more work than the normal reassembly process. There are almost always additional problems because the parts are also old-fashioned.
Below is the main board for my test. This is a test motherboard that has been tested with my CPU, memory, and power supply to see if it works well and classified. This is a compatible motherboard with your CPU, memory, and graphics card. First, I reconnect my parts, and check the status of my motherboard again before installing the customer's parts. Some boards suddenly stop working after years, even though they were only testing and storing, so before testing the customer's accessory, check the condition first and conduct a cross-test. I couldn't leave the test process in the picture just because I checked with you. My board normally enters the bios screen. (It didn't go over to the window screen. It's more accurate to check like that, but it takes a long time.)
I have your CPU on my motherboard. The UEFI DUalBIOS screen confirmed that the customer's CPU i5-3570 was recognized normally. We tested all removable accessories such as CPU, RAM, and graphics card. The screen will output normally.
This is the process of testing my motherboard and installing a customer CPU to test.
We will prepare the used motherboard you brought, and we will test the operation of the motherboard by installing the components (CPU, RAM). The customer's CPU is a 3rd generation i5 product, but it's still an i5 product, so it's expensive if it breaks down, so I tested it with a 3rd generation celloron CPU. Occasionally, a bad motherboard can cause the CPU to die. It's rare, but it's good to be careful because it's not rare enough to get one or two cases a year. (This is a case of CPU failure due to faulty motherboard.)
I am connecting my CPU, memory, and power supply to the main board you brought.
It's a troublesome case of installing a total of four memories. If four memories are plugged in, it is difficult to check because there are many cases of poor connection. It's hard to find several times as many as one or two of the four memory connections are plugged in.
Installing the accessory to the customer's motherboard to check for normal operation
After the removal test, the thermal compound was re-applied, and the original Intel base cooler was installed.
The fixing pin plastic on the CPU cooler is bent. When assembling, there are a lot of mistakes in this part. We don't recommend reusing this kind of broken plastic because it creates cramps. Ripped (repaired) a known-good fixing pin from another CPU cooler.
Damaged fixing pin of CPU cooler (crushed)
The main board is wide, but the case is a spherical case, so there is no hole to fix the support bolt, so we used a sponge to prevent the main board from contacting the iron plate of the case. It's not essential, but it's good to do. Occasionally, when a 24-pin cable is plugged in with the power supply powered, the substrate sags and fails after a short circuit with the case steel plate. It could only spark.
The thickness of the thread on the support bolt in this case is the same as the screw that secures products such as hard disks and power supplies. Because the screws that secure the CD-ROM are spinning, we fixed them with a slightly thicker thread (hard, power). Nowadays, most of them are fastened with screws that fix CDs and SSDs, but in the past, there were often cases that fix them with thick screws like this. We settled the main board on the case and arranged the cable. In the old case, there are many ways to organize the lines on the main board.
The screw securing the main board is a thick screw.
Computer Power Line Cleanup
Additional memory checks were performed. If it passes normally, there will be one PASS as shown below. If there are errors in the memory, the number of errors increases. (As shown in the picture on the right, 53% is in progress, and it says that 56576 errors have been detected. 0 known-good memory appears.)
Memory error check in progress screen. The left side is normal, the right side is broken.
An error was detected in one of the four memory units. I did a more intensive examination of this memory. The main board checked above is another test main board. I mounted it on your main board and checked again for any abnormalities.
A fault sticker has been attached to the memory where the error was detected.
That's the irony. If you install the memory on the customer's motherboard and inspect it, you can see that it passed normally as shown below. If it's double bad checking, it can be determined and removed as bad memory, but if it's normal on one side, it's not easy to diagnose it as bad. (I got it again because it works fine in A/S Center, and it's hard to say who's fault, like when my computer keeps failing.) It is usually difficult to find the cause by cutting it off, as there may also be problems with the connection between components. I think you'll explain your situation to the center and get a replacement for the same product.)
It says the broken memory is normal on your motherboard.
Attach it to the customer's main board and conduct additional tests. The tests below are being conducted using the memory diagnostic tool program built into Windows 10. It passed without any problems. If you filter the memory diagnostic results from the system entry in the window log and check it, it says there were no errors.
The next day, I re-installed your memory on my motherboard where the error was detected again and conducted additional tests. The error does not appear this time. It's hard to know the true cause, so it's hard to understand. An error has been detected, but it is not detected at the moment, so there is no point in checking additionally, and if something goes wrong with the computer, I think I will remove the memory attached with a sticker. It's DDR34GB of memory, so it's not that expensive, so if there's a problem, I think they'll remove it or replace it.
The memory that was abnormal is operating normally again.
Double warning like below?I attached and shipped it. If there is a problem with the computer later, I think I will focus on checking this memory. (I recommended you remove it.)
The memory goes back and forth. There could have been a problem with bad connection.
Added Jan 27, 2023: An intermittent blue screen display computer has been stocked.
(1) Reception symptoms: When you use a computer, the blue screen appears intermittently.
(2) Inspection result : Bad memory. Samsung new memory has been replaced and shipped.
Disk scan is in progress during Windows boot process. The last abnormal shutdown seems to have been a problem.
If you boot because there are a lot of forced shutdowns, the disk check runs as shown above. Windows is turned on and the blue screen viewer is checking the existing blue screen type. The error code is not constant and it is heating over and over and over. So, I recommended that you use a computer first. The computer didn't turn off in our store. When I used it, there was no problem except for the slow symptoms of the computer, but the blue screen popped up once at the last moment of shutdown.
I'm checking the blue screen code that was previously displayed in the blue screen viewer.
We are going to test your memory by removing it. I wrote down your name with a pen in your memory.
I wrote down your name so that the memory is not confusing.
I connected the customer memory to my test computer and conducted the test, and the error is being detected as below.
I tested it on my computer, and there are a lot of errors.
The memory test program of the higher version was also detected as an error.
Errors are also detected in higher versions of the same program.
It was cross-fitted to AMD/Intel CPU motherboard and tested 2-3 times.
The defective memory was returned to the customer with a faulty sticker.
The broken memory was returned to the customer with a faulty sticker.
We shipped a new Samsung DDR4 8GB 3200 memory. Due to the limitation of the main board (CPU), it is not operating at 3200 MHz, but is operating at 2133 MHz.
On the H110M-A motherboard, the DDR4 3200 memory is recognized and operating normally at 2133 MHz.
'▶ 컴퓨터수리' 카테고리의 다른 글
| 비트엠 모니터 M248IPS 프리싱크 HDR 불량 증상 액정 왼쪽 1/3 지점 에 발열과 가로줄 (0) | 2022.11.09 |
|---|---|
| 키보드로 "마우스 좌클릭 또는 더블 클릭" 그리고 마우스 메뉴창 띄우기 (0) | 2022.11.02 |
| AMD 메인보드 AM4 소켓 분해 (0) | 2022.10.19 |
| CS이노베이션 메인보드 A/S 보내기 (기가바이트, MSI) (0) | 2022.10.12 |
| 컴퓨터 전원 버튼 걸리는 불량(고장) 누르고 원상복귀 안되는 케이스 (0) | 2022.09.20 |
| 다크플래쉬 DLM 21 RGB 선정리 및 팬 전원 연결 방법 (0) | 2022.07.28 |
| (SATA) 사타케이블 분해 (0) | 2022.07.15 |
| LG노트북수리 15UD560-GX30K (0) | 2022.07.09 |
| TG삼보 노트북에 들어있던 팬 불량 (0) | 2022.07.08 |
| 삼성노트북분해 (NT-R590-PS55S, 2010년 JU) (0) | 2022.06.29 |


댓글